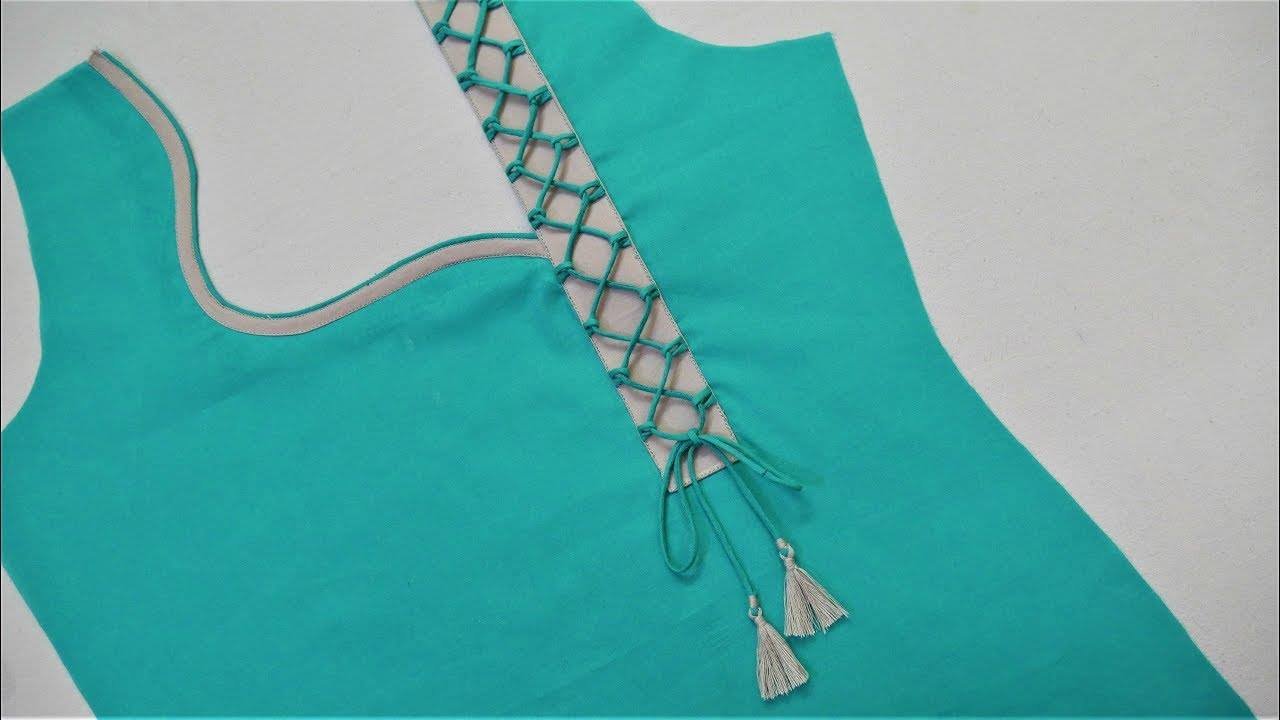
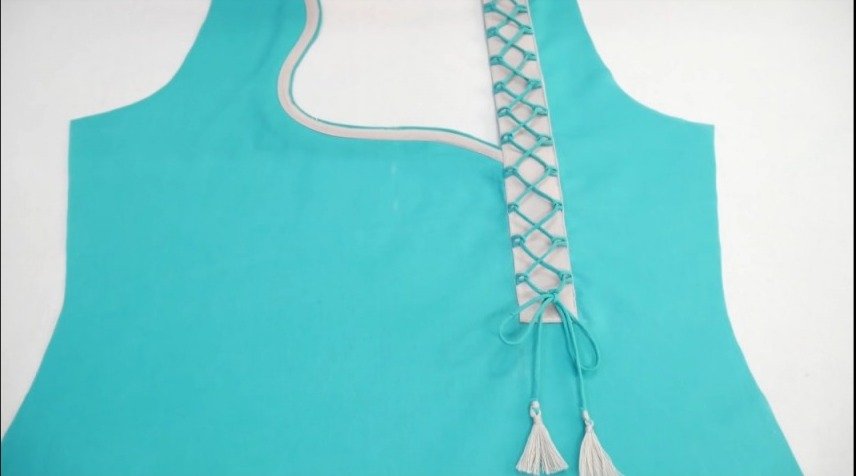
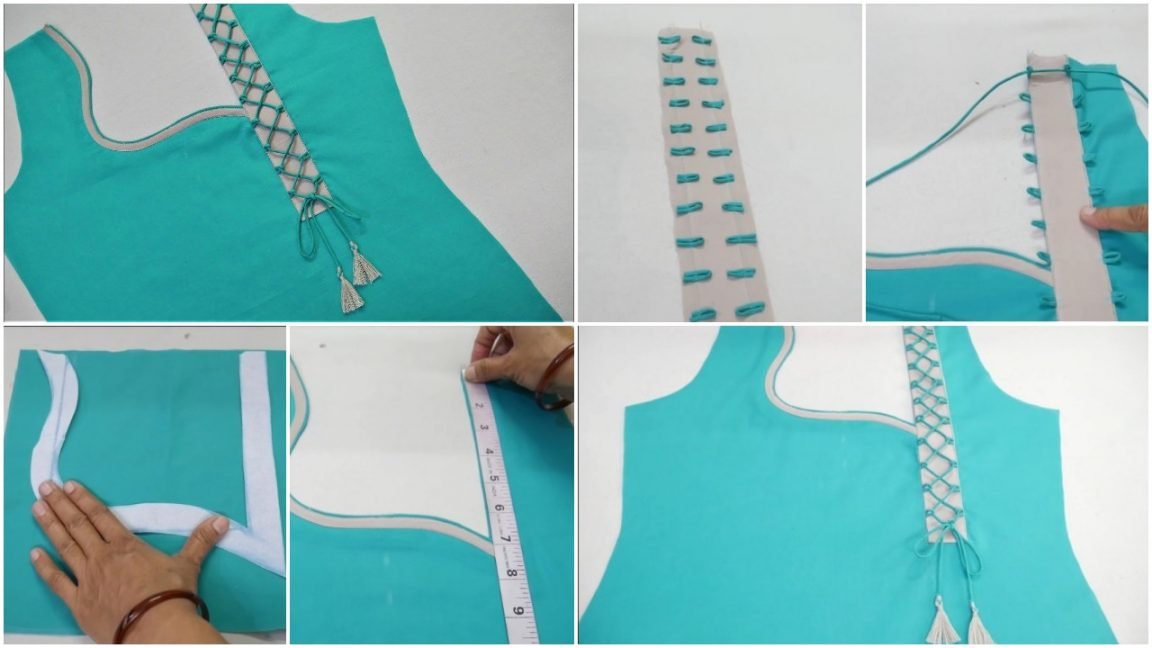
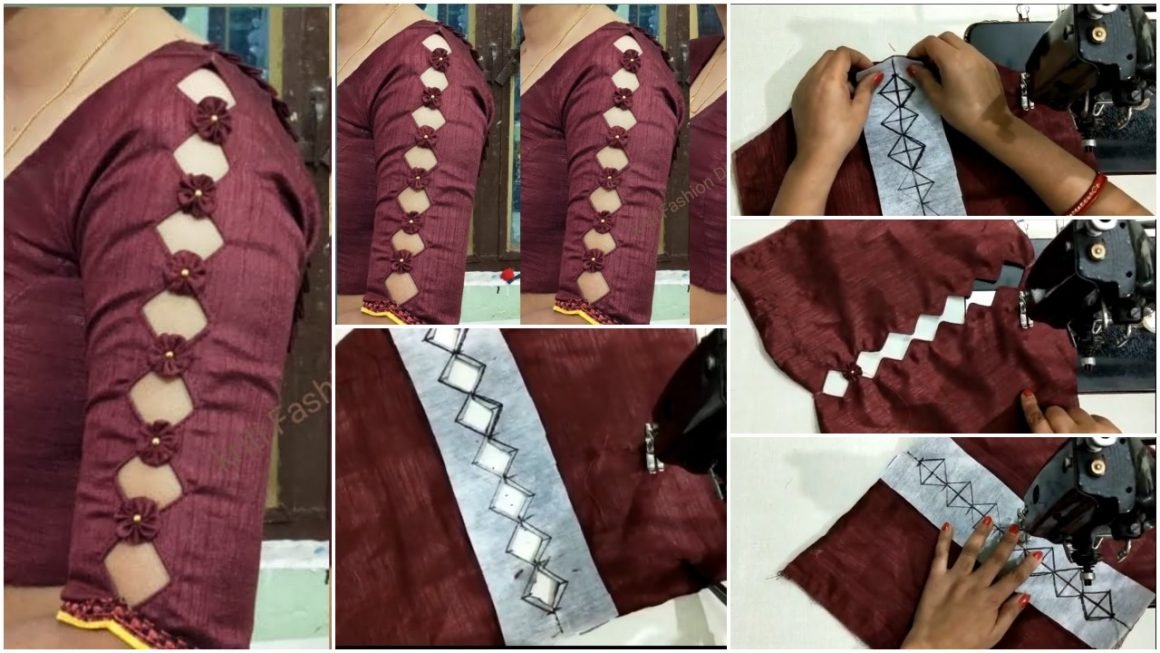
Modern and stylish front neck design suitable for Kurtis and Suits – Cutting and stitching.
Creating the perfect neck design for your garments can be difficult, but with this guide you’ll be able to create beautiful, professional-looking necklines every time. With just a few simple steps you can add all kinds of design details to make your garments stand out from the crowd.
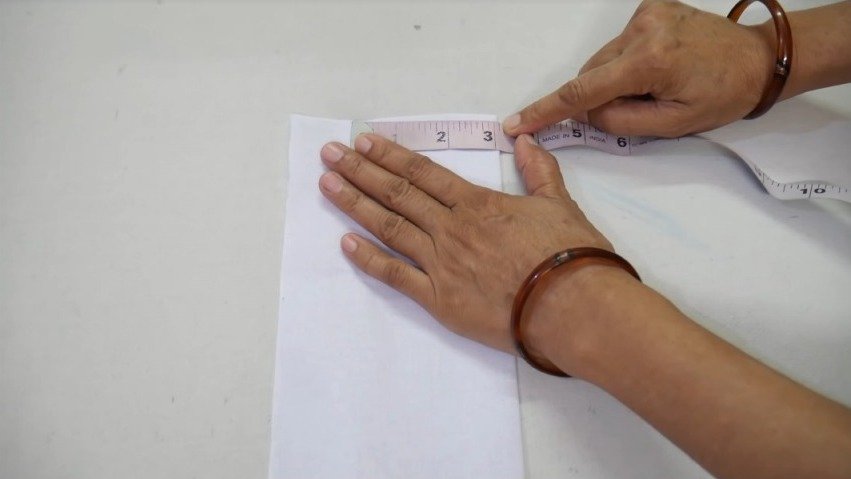
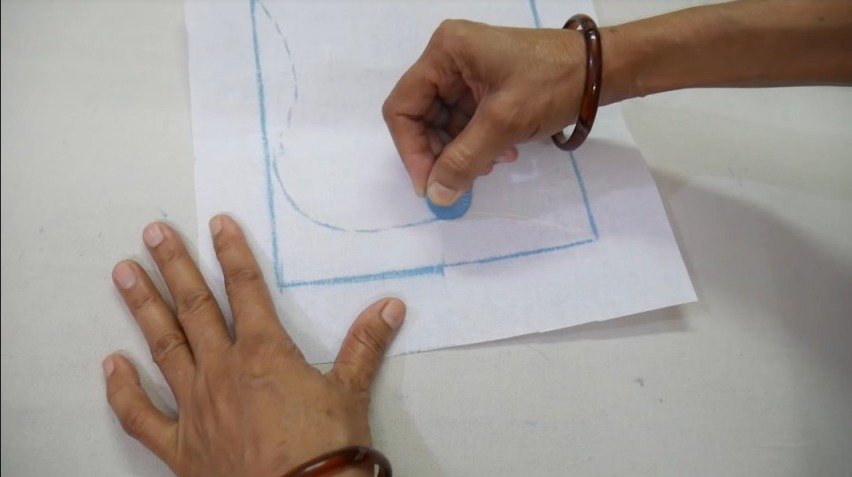
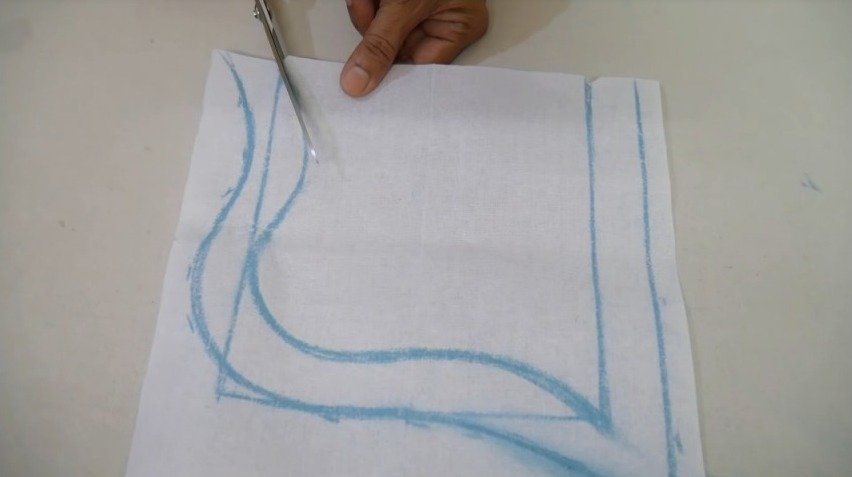
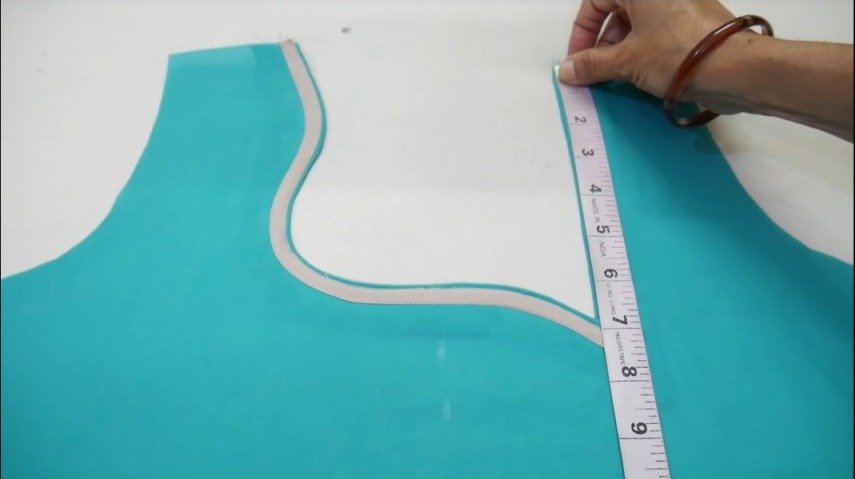
- Step 1: The first step is to mark the center front of the garment. This will be the starting point for cutting the neckline. Next, use a ruler or a curved template to draw the desired neckline shape onto the fabric. Once you have the basic shape drawn, you can start adding design details like scallops, ruffles, or gathers.
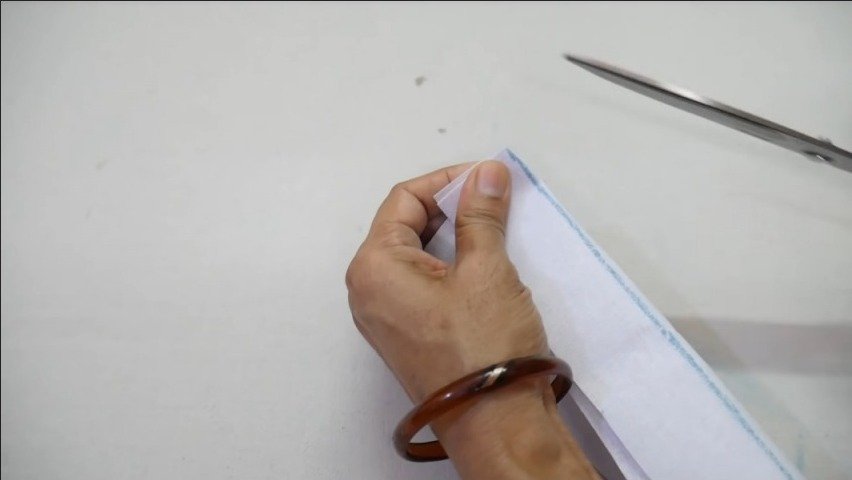
- Step 2: To cut the neckline, first use a sharp pair of scissors to cut along the marked line. If you want a more professional finish, you can also use a rotary cutter and cutting mat. Once the neckline is cut, it’s time to start stitching.
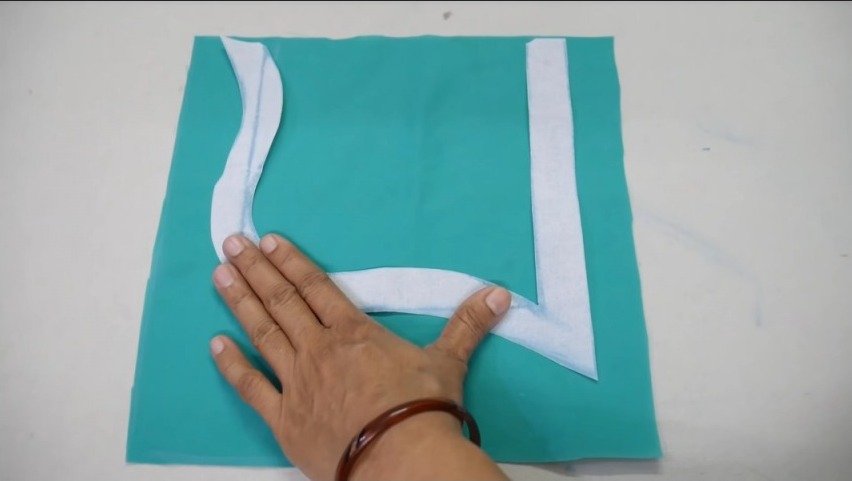
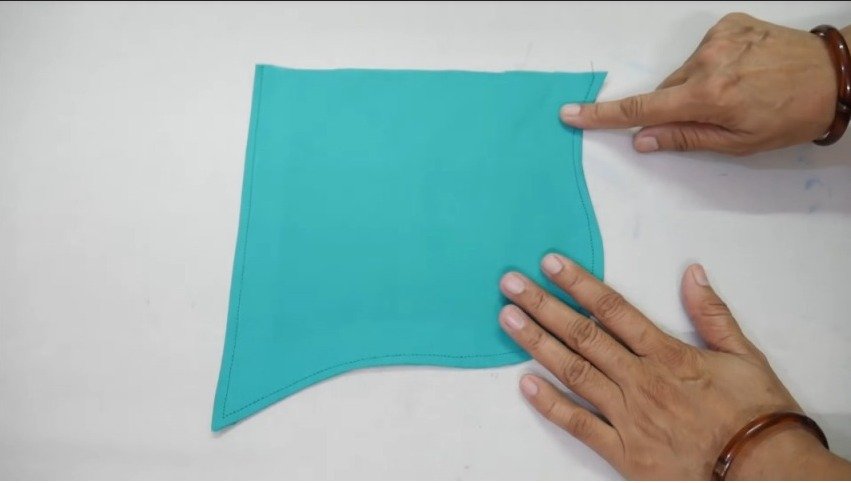
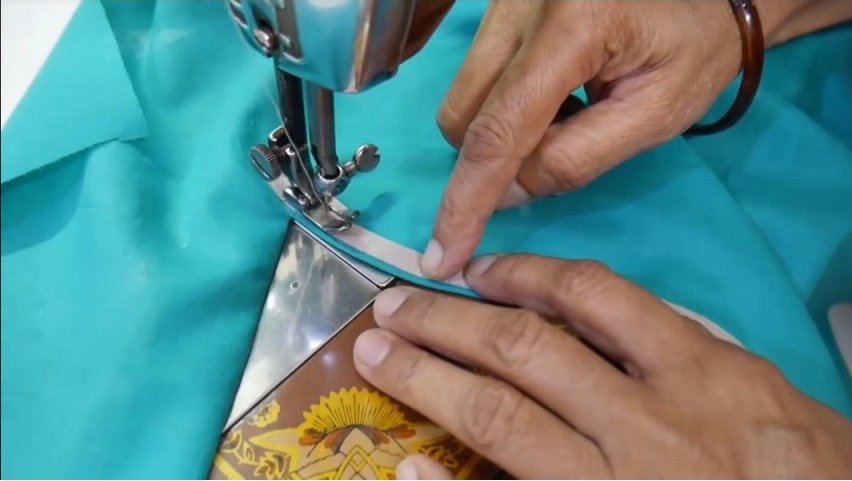
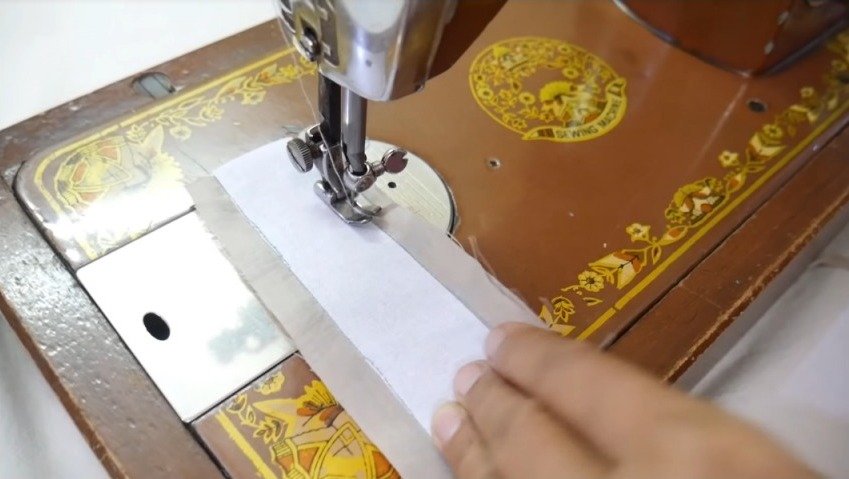
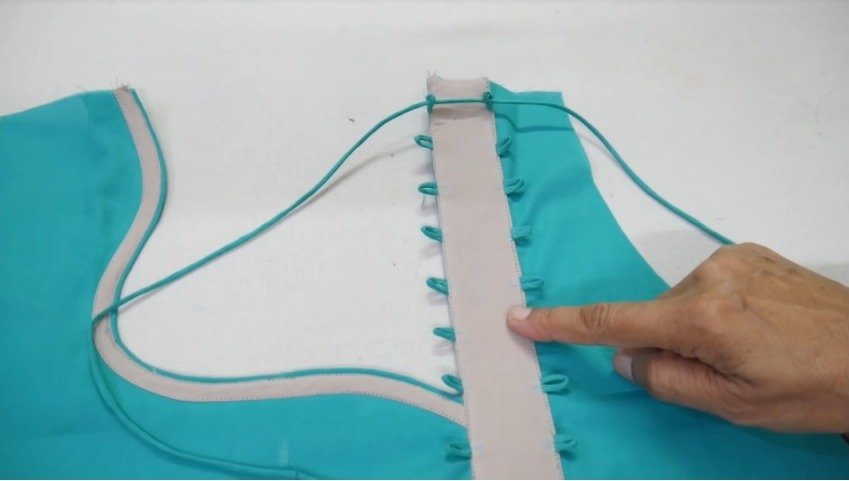
- Step 3: To stitch the neckline, start by serging or zigzag stitching along the raw edge to prevent fraying. Next, use a straight stitch or a decorative stitch to secure the fabric in place. If you’re using a gather or ruffle detail, you’ll need to sew that in place before proceeding to the next step.
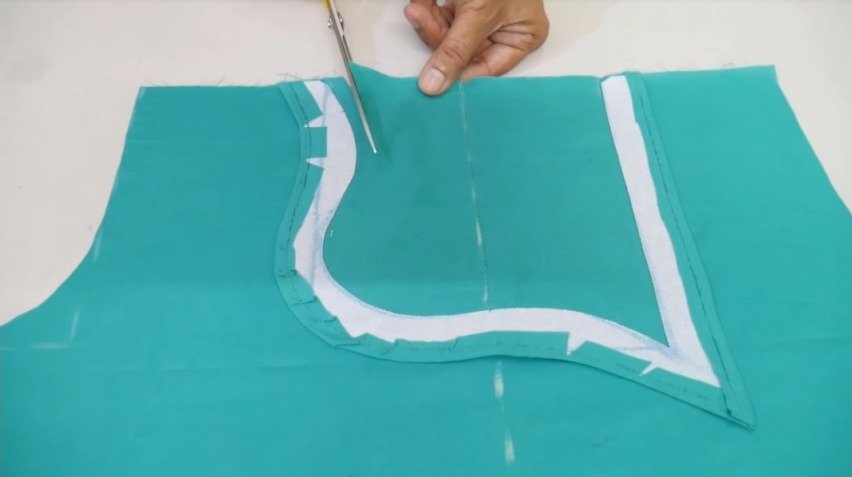
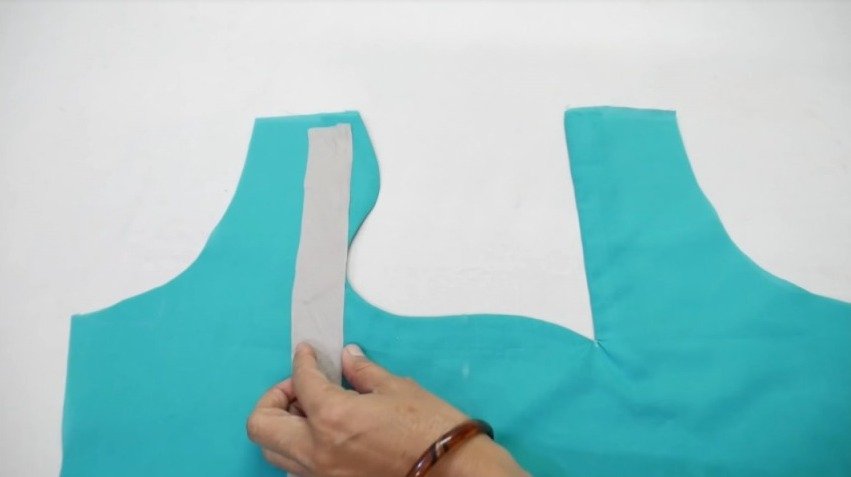
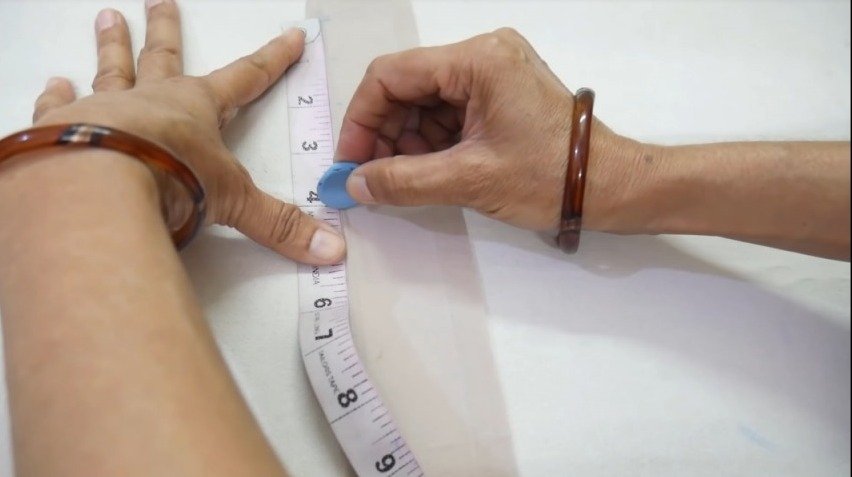
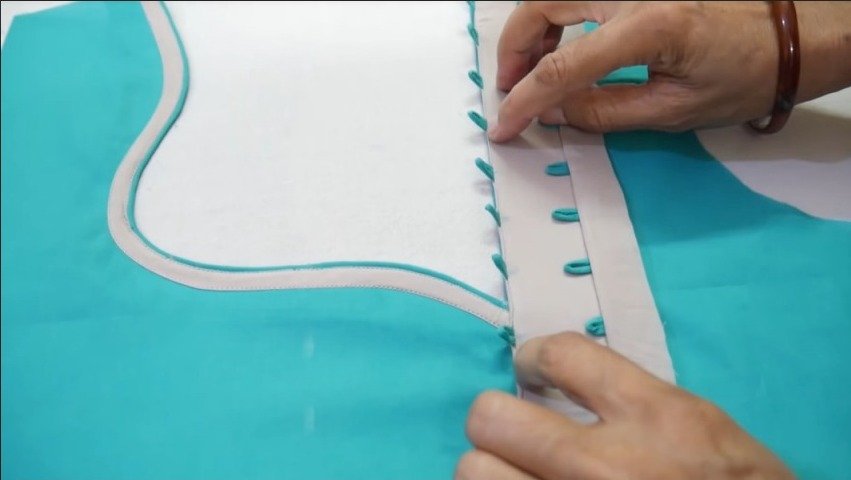
- Step 4: Finally, finish off the raw edges with bias tape or binding tape. Sewing bias tape or binding tape around the raw edges will give them a clean finish and prevent them from fraying over time. And that’s it!
With these simple steps you’ll be able to cut and stitch beautiful necklines.
