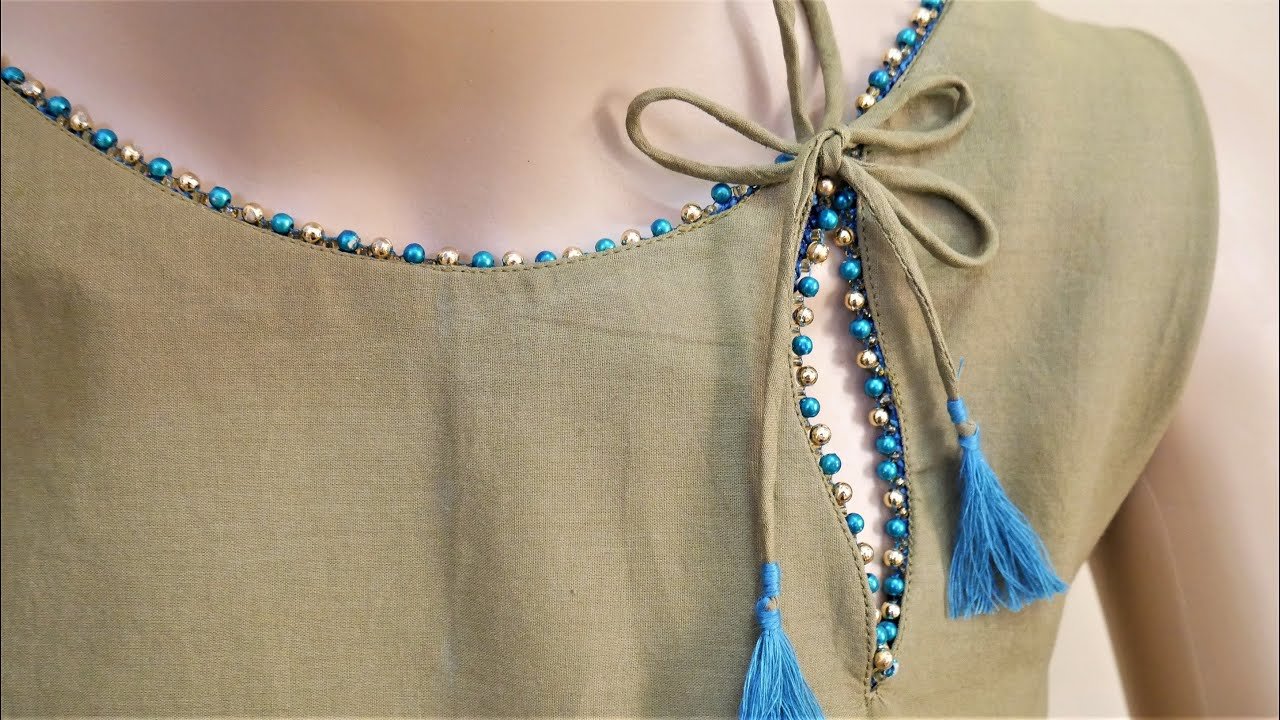
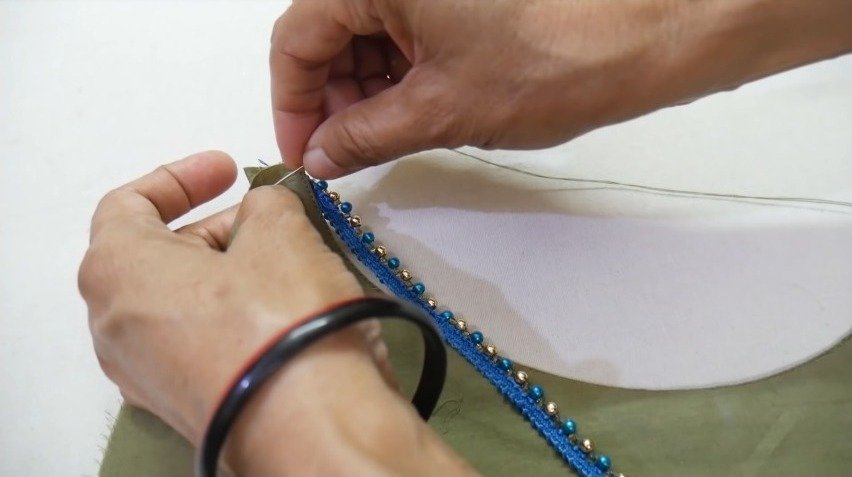
Neck design is one of the most important aspects of a garment. It can add style and elegance to an outfit, or make it look cheap and shoddy. Neck design cutting and stitching is not as difficult as it may seem, and with a little practice, you can create beautiful necklines for all your garments.
There are two basic types of necklines: the round neck and the V-neck. The round neck is the most common, and is simply a hole cut into the garment at the neckline. The V-neck is slightly more difficult, as it requires two pieces of fabric to be sewn together at an angle.
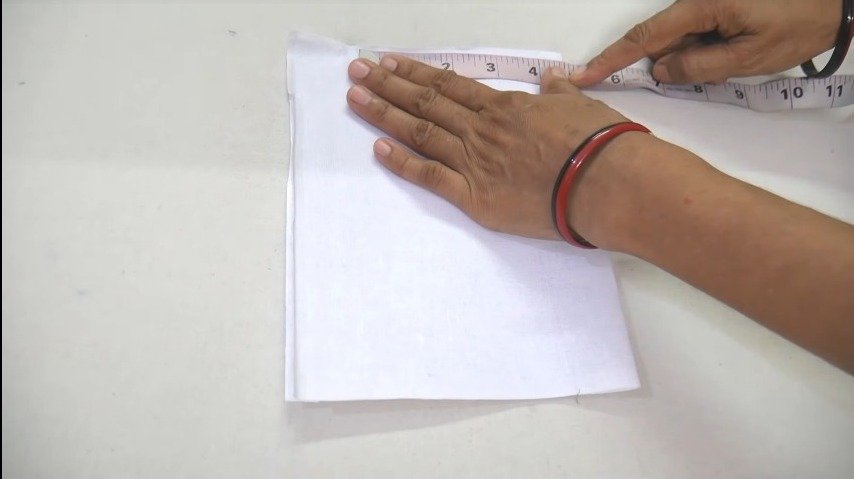
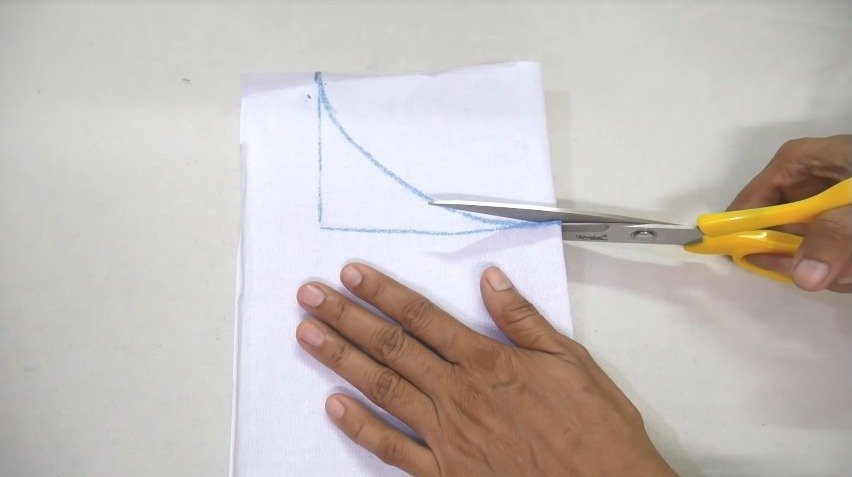
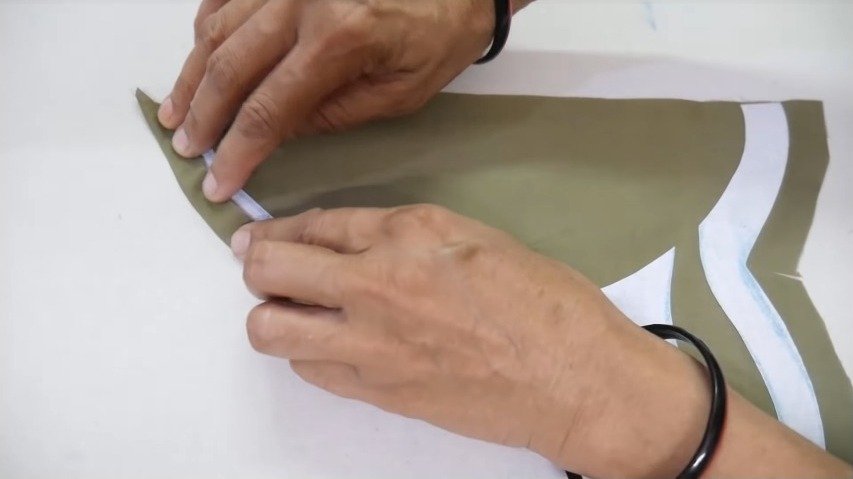
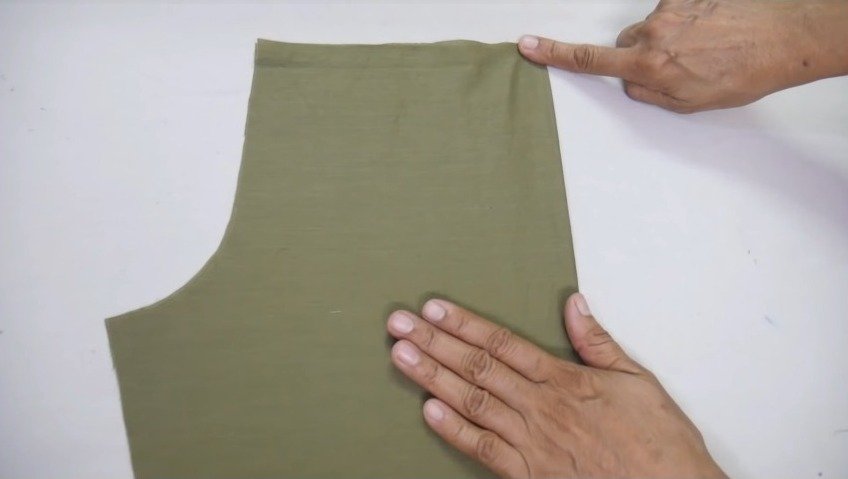
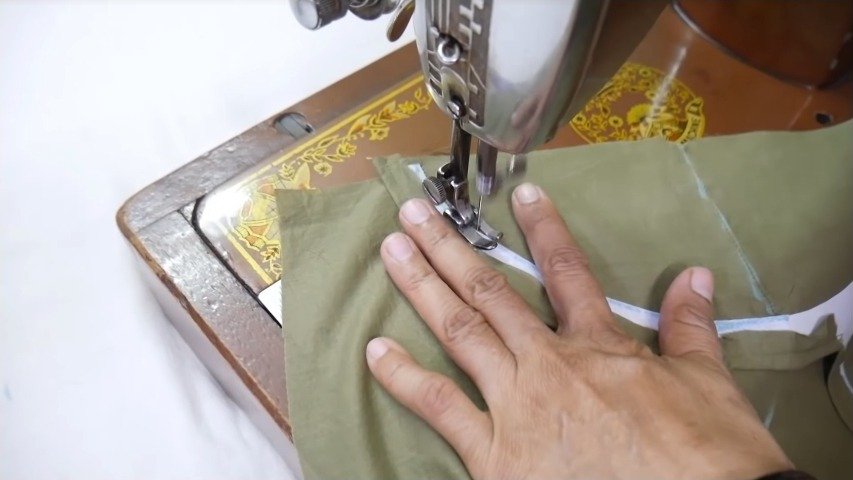
Creating a round neckline is relatively simple. First, mark the desired neckline on the fabric with a pencil or chalk. Then, using a sharp pair of scissors, cut along the marked line. Be sure to cut evenly, so that the neckline is not too tight or too loose.
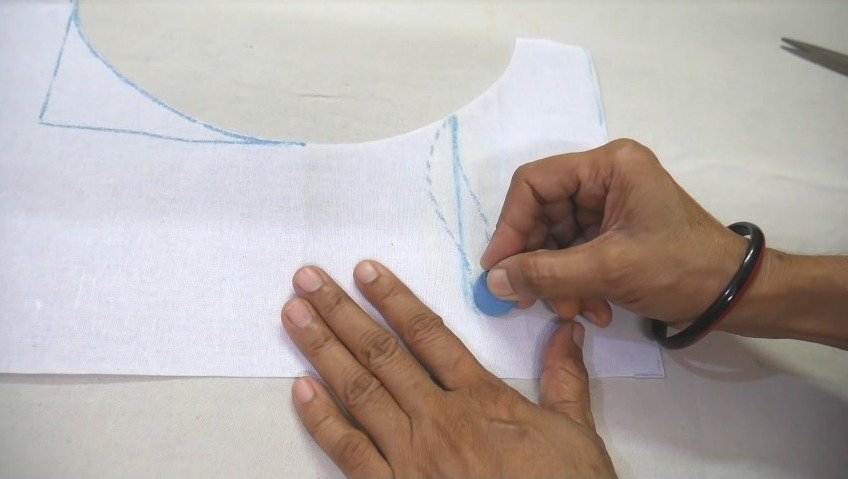
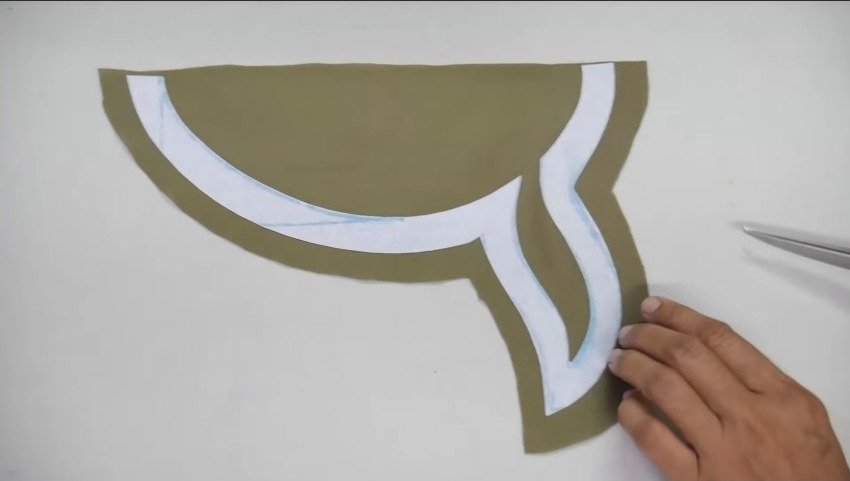
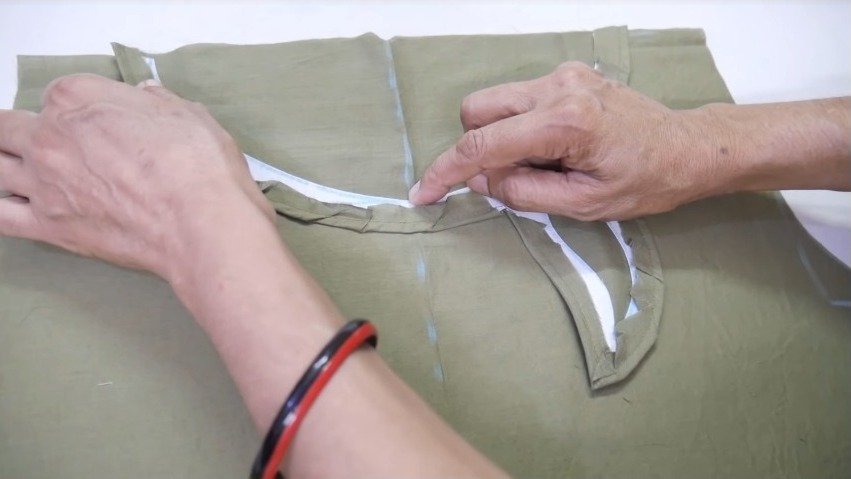
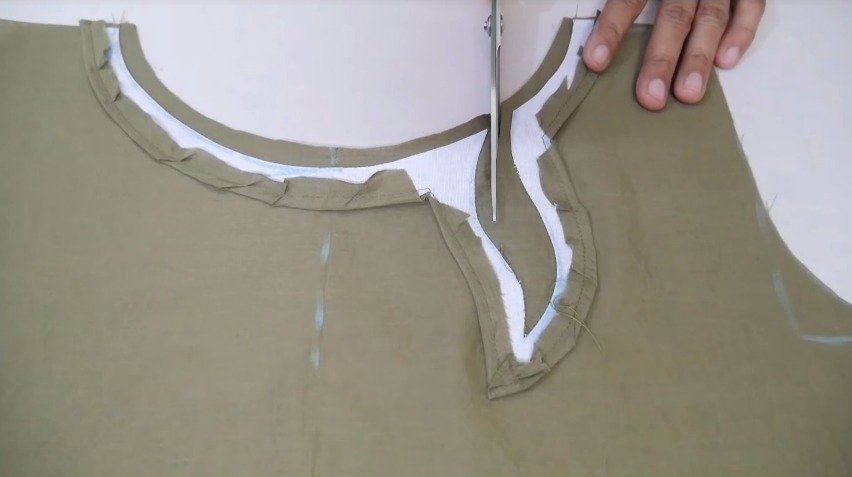
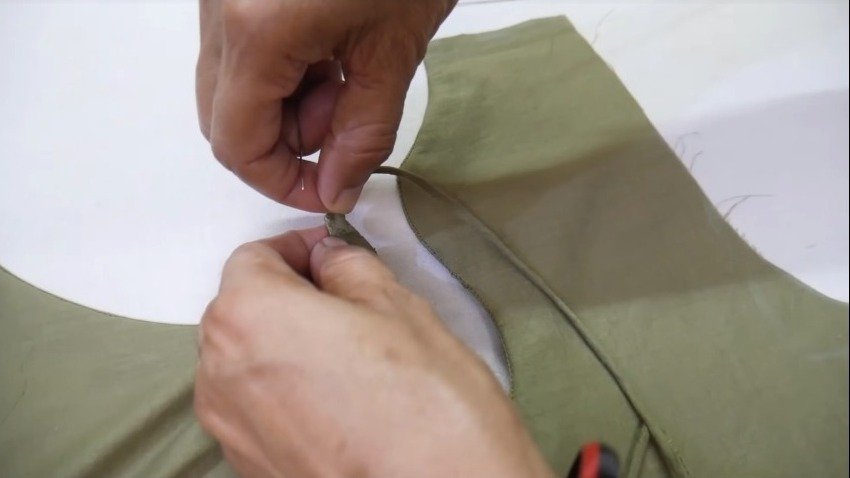
If you are cutting a V-neck, start by marking the center front of the garment. Then, mark the desired depth of the V on either side of the center front. Draw a line connecting the two marks, and cut along this line. To sew the V-neck, place the two pieces of fabric right sides together and stitch along the marked line.