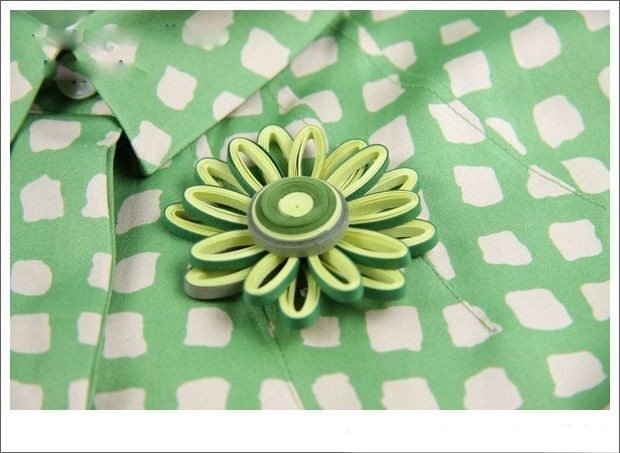
Quilling is a great way to add a pop of color and dimension to your paper crafts. And what could be more eye-catching than a beautiful quilled flower? In this tutorial, we’ll show you how to make your own quilling flowers step by step.
You’ll need:
– Quilling paper
– Quilling tool
– Glue
– Scissors


Instructions:
1. Start by cutting your quilling paper into strips. You can make your flowers any size you like, so adjust the strip width accordingly. For smaller flowers, use thinner strips; for larger flowers, use thicker strips.
2. Next, take one strip of quilling paper and glue one end to the quilling tool.
3. Begin winding the paper around the quilling tool, keeping the turns tight.
4. Once you’ve reached the end of the strip, cut off the excess paper and glue the end down.
5. Repeat steps 2-4 until you have a desired number of quilled coils.
6. To assemble your flower, glue two coils together at one end.
7. Continue gluing coils together, working your way out from the center, until you have a full flower.
8. Allow the glue to dry completely before displaying your beautiful quilling flower!