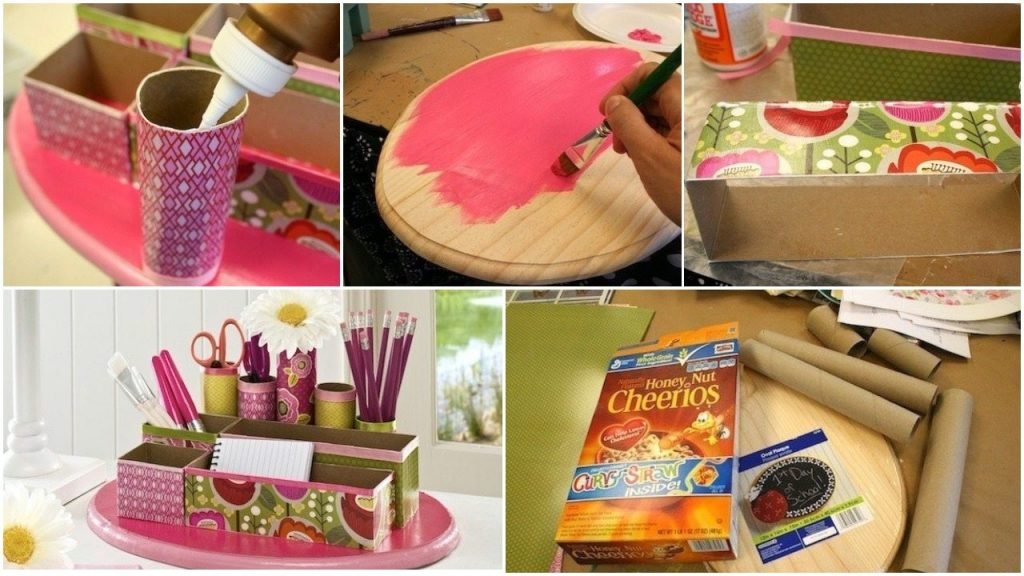
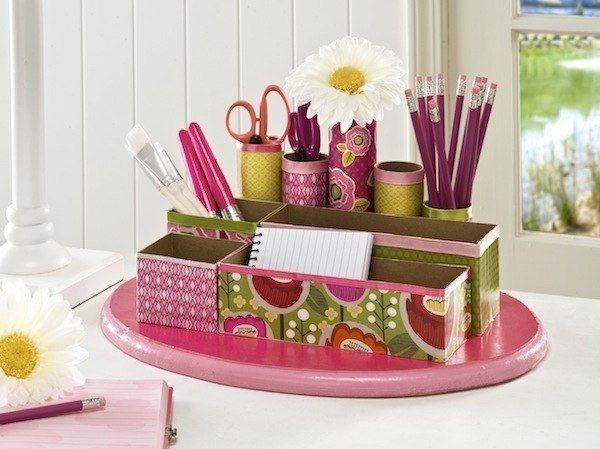
If you’re looking for a creative way to organize your scrap materials, look no further than this diy organizer. With just a few simple supplies, you can turn your scraps into a stylish and functional organizer.
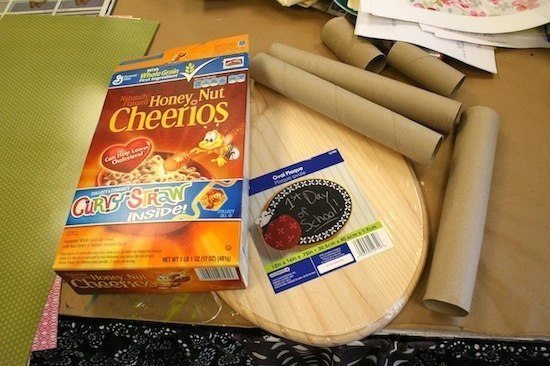
To get started, you’ll need:
-A box or container
-Scrap paper
-Ribbon or string
-Scissors
-Glue or tape
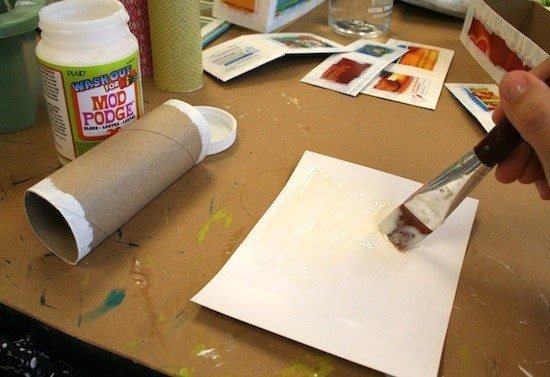
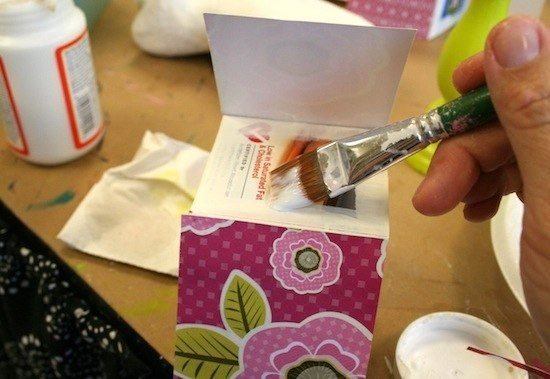
First, cut your scrap paper into small pieces. You can make them any size or shape you like, but try to keep them uniform so that they’ll fit nicely into your box or container.
Next, glue or tape the pieces of scrap paper to the inside of the box or container. Be sure to leave enough space between each piece so that you can easily see what’s inside.
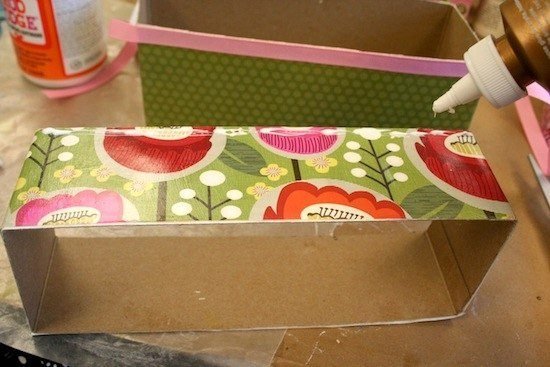
Finally, use the ribbon or string to create dividers between the sections of your organizer. This will help you keep your scrap materials sorted and organized.
Now that your diy organizer is complete, you can start filling it up with all of your scrap materials. You’ll be able to easily find what you need, and your workspace will look neater and more organized. So get creative and start organizing today!