Simple and stylish designer baby frock cutting and stitching tutorial.
In this blog post, we’ll be covering how to make a designer baby frock. This project is perfect for beginning sewers looking to make something special for a little one in their life. And, best of all, it’s actually quite simple to put together! Just follow the steps below and you’ll have a beautiful frock in no time.
Before we get started, let’s go over what you’ll need for this project. For the frock itself, you’ll need 1 yard of fabric, 1/2 yard of lace or trim, and a few buttons. You’ll also need some basic sewing supplies like thread, scissors, and a needle. If you don’t have a sewing machine, don’t worry! This project can easily be completed by hand.
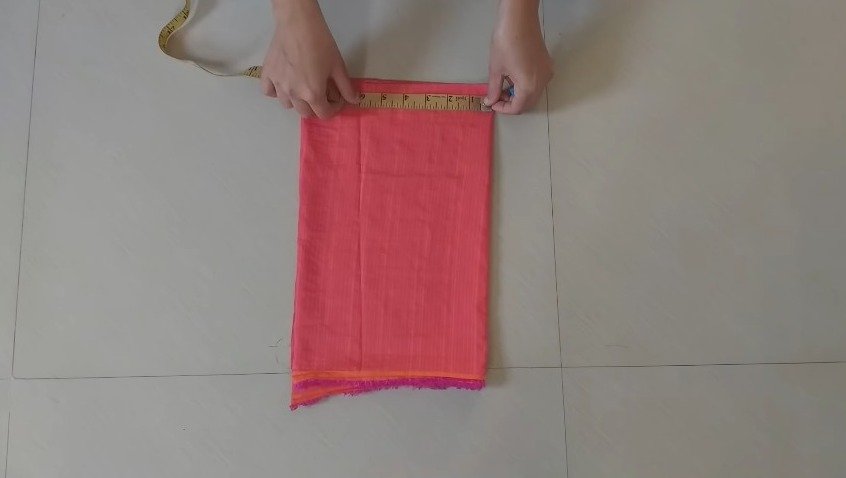
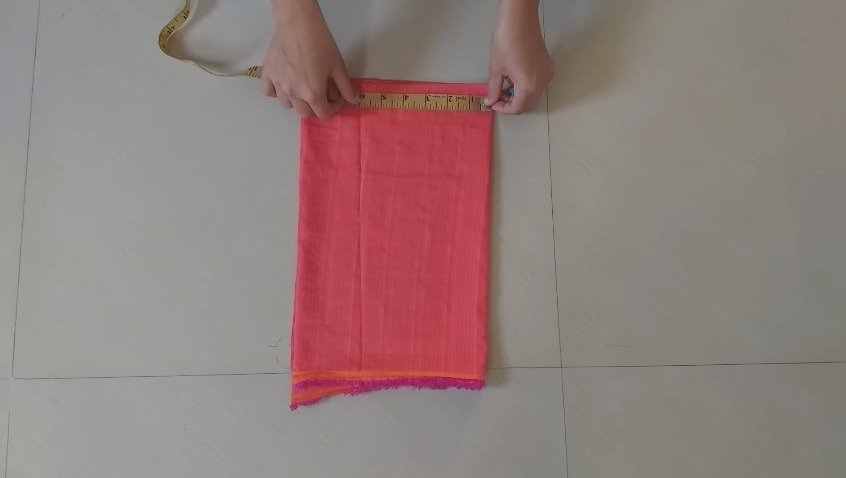
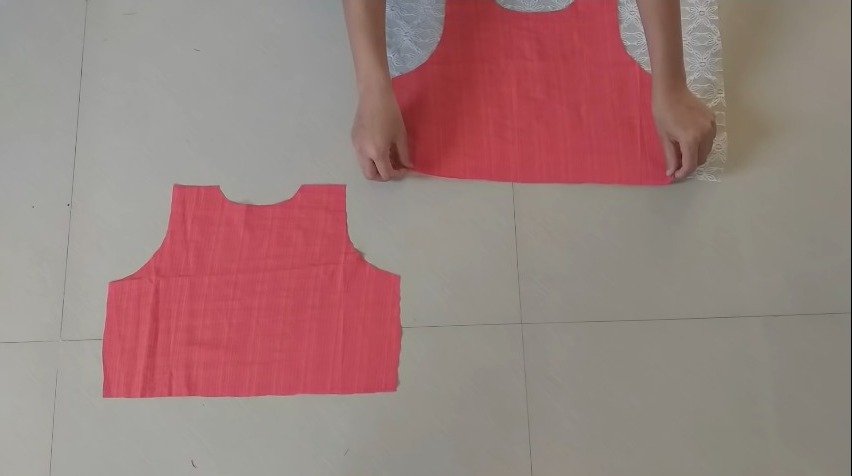
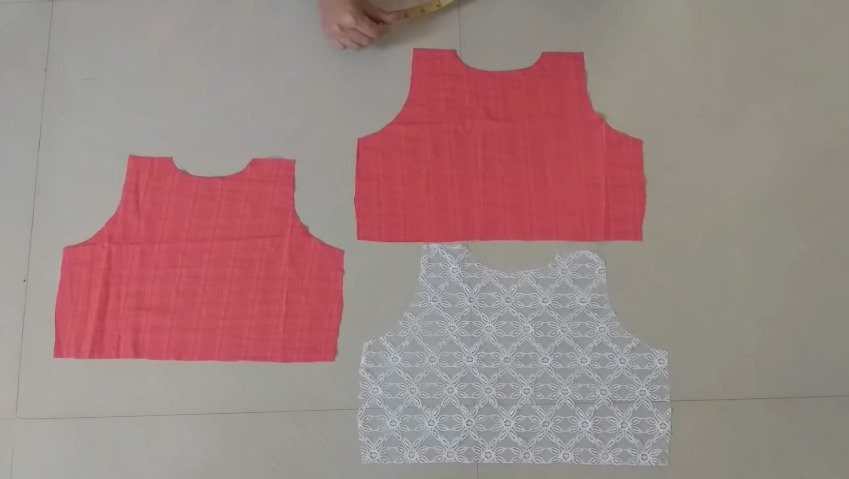
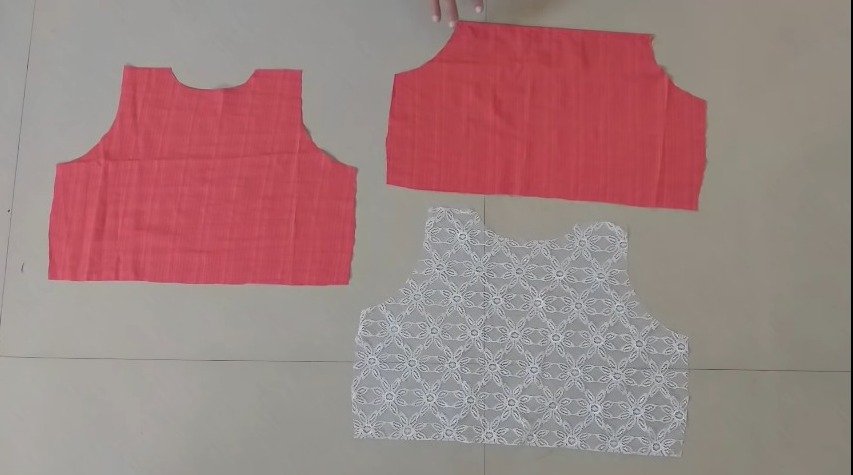
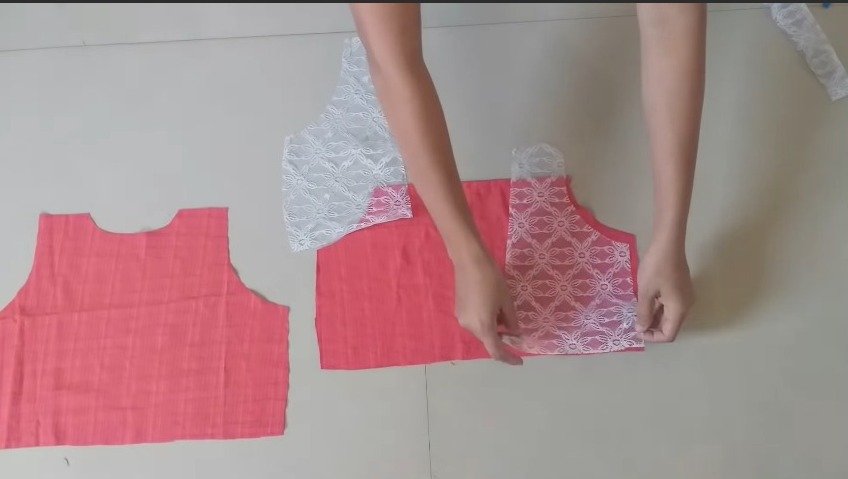
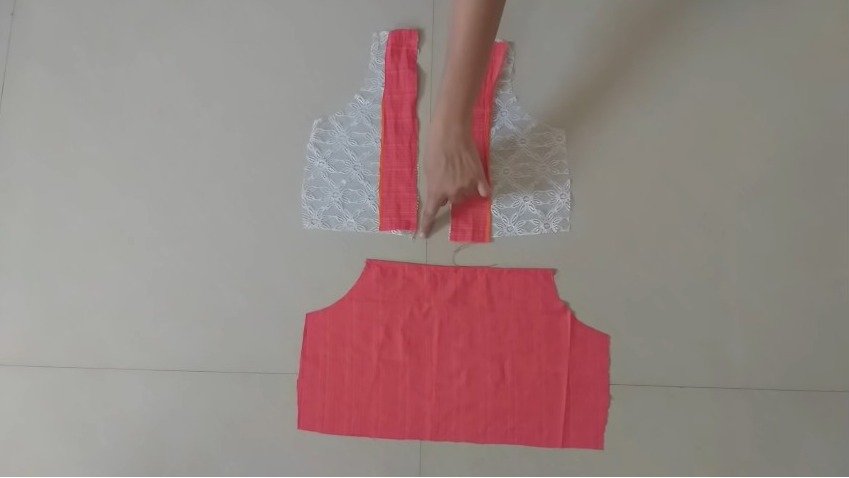
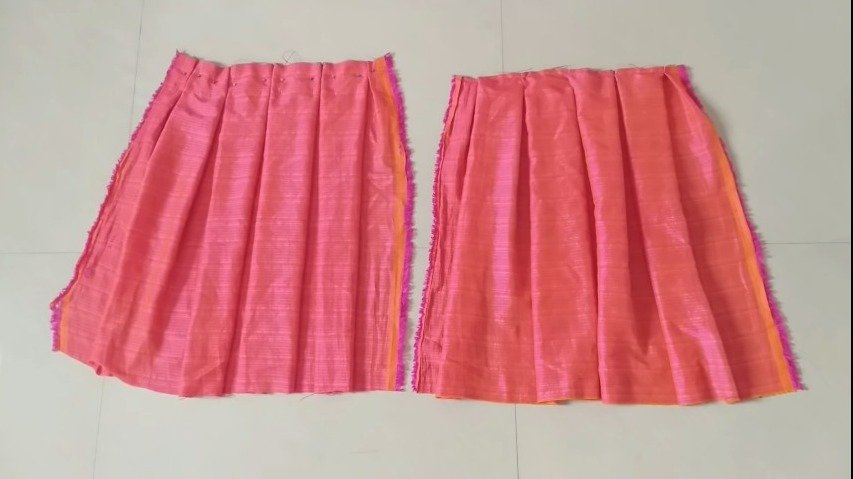
The first step is to cut the fabric for the frock. First, fold the fabric in half lengthwise so that the selvage edges are aligned. Then, using a sharp pair of scissors, cut along the fold to create two identical pieces of fabric. Next, take one of the pieces of fabric and fold it in half again so that the raw edges are aligned. Cut along the fold to create two more identical pieces of fabric. You should now have four pieces of fabric that are each 1/2 yard long and 1 yard wide.
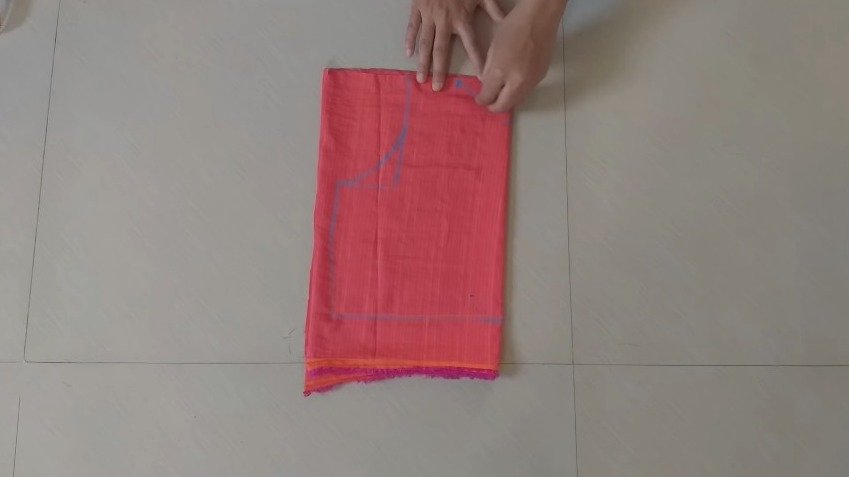
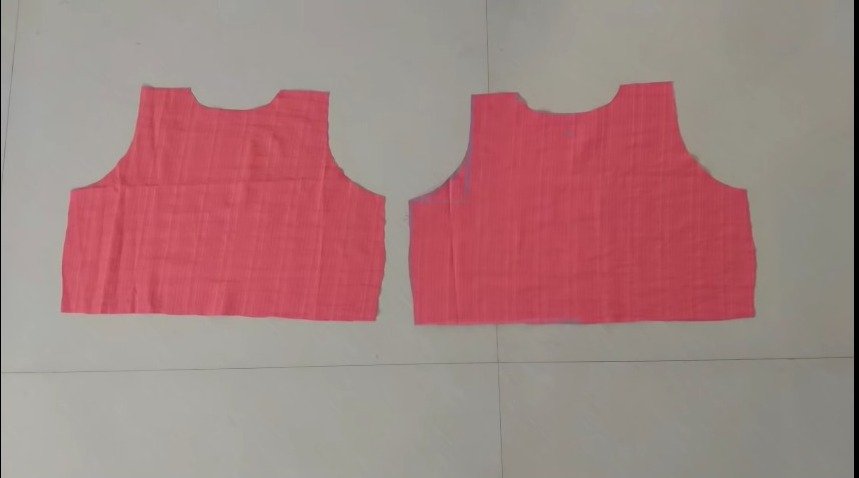
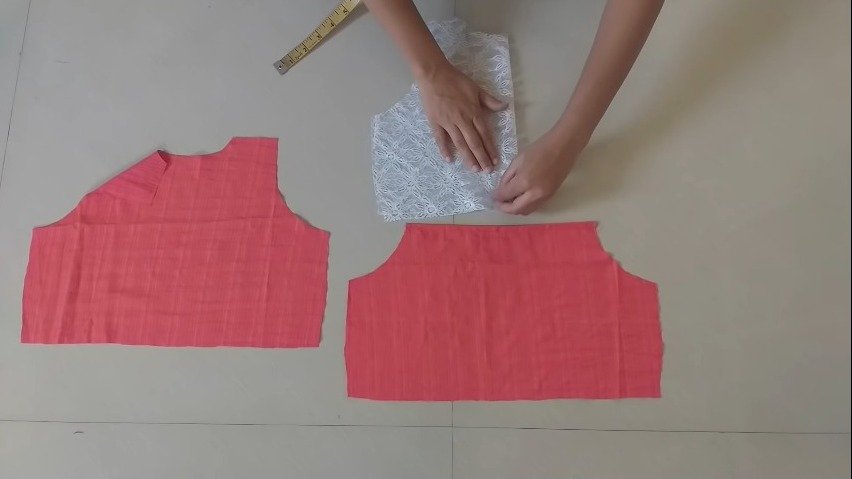
Now it’s time to cut out the neckline of the frock. On one of your pieces of fabric, measure and mark a curve that is 6 inches wide at the center and tapering down to 4 inches at the sides. Cut along this curve to create the front neckline piece. To create the back neckline piece, simply fold this piece in half and cut along the fold to create two identical pieces.
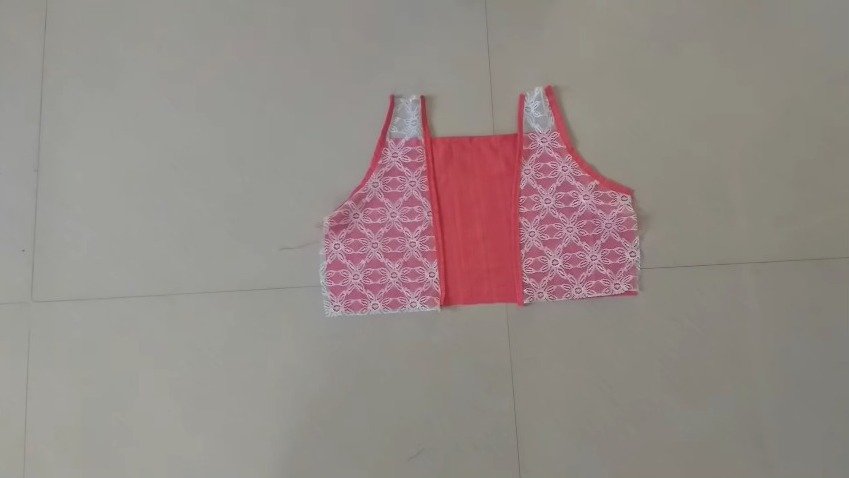
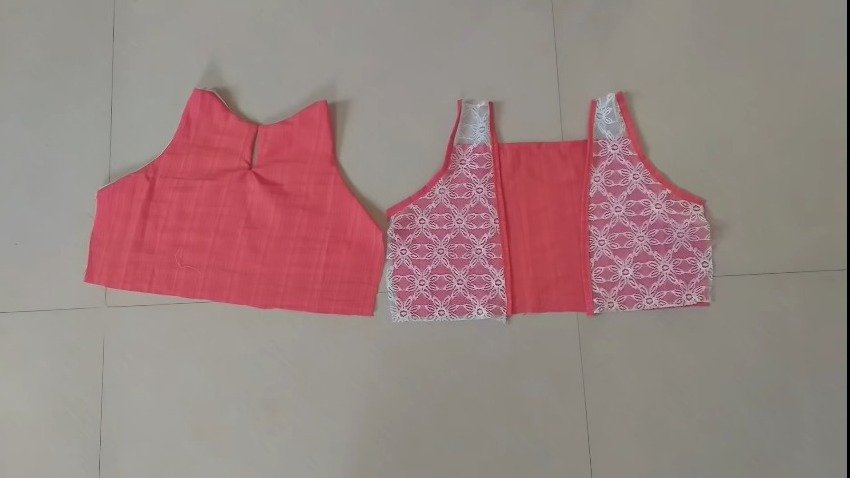
Once you have all of your pieces cut out, it’s time to start sewing! Begin by pinning together the front and back neckline pieces at the shoulders. Sew these together with a straight stitch or a zigzag stitch (we recommend using a zigzag stitch as it will be more flexible when stretched over the child’s head). Next, pin together the side seams of the frock and sew these together with either a straight stitch or zigzag stitch (again, we recommend using a zigzag stitch).
Finally, hem the bottom edge of the frock by folding up 1/2 inch of fabric and sewing it in place with either a straight stitch or zigzag stitch. Once you’re finished hemming, your frock is complete! Congrats on making something beautiful and unique!

