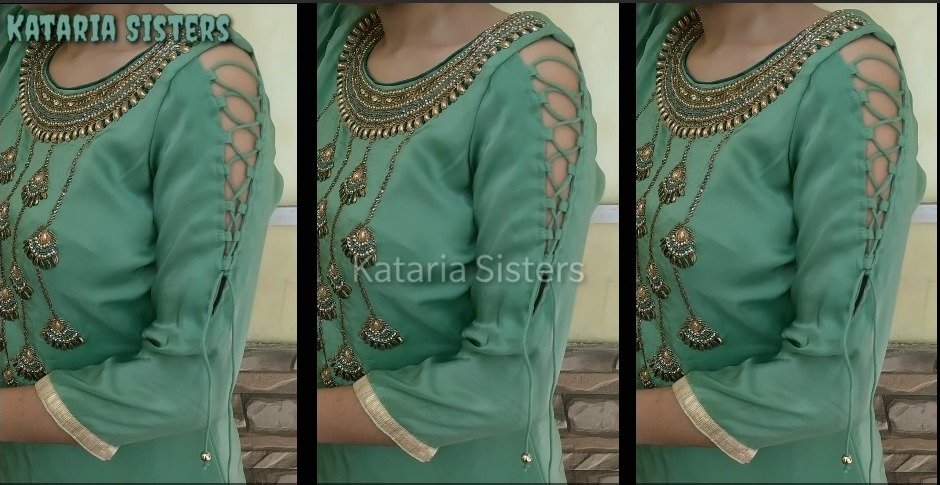
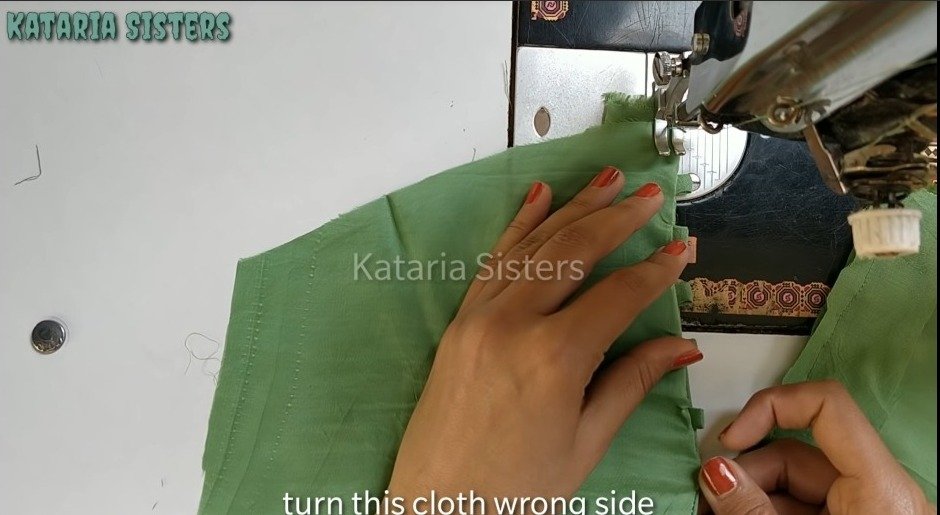
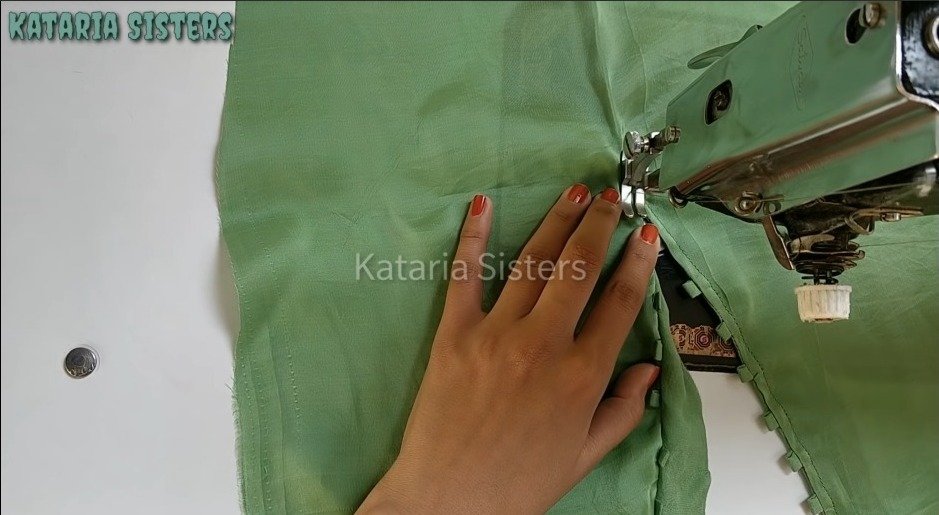
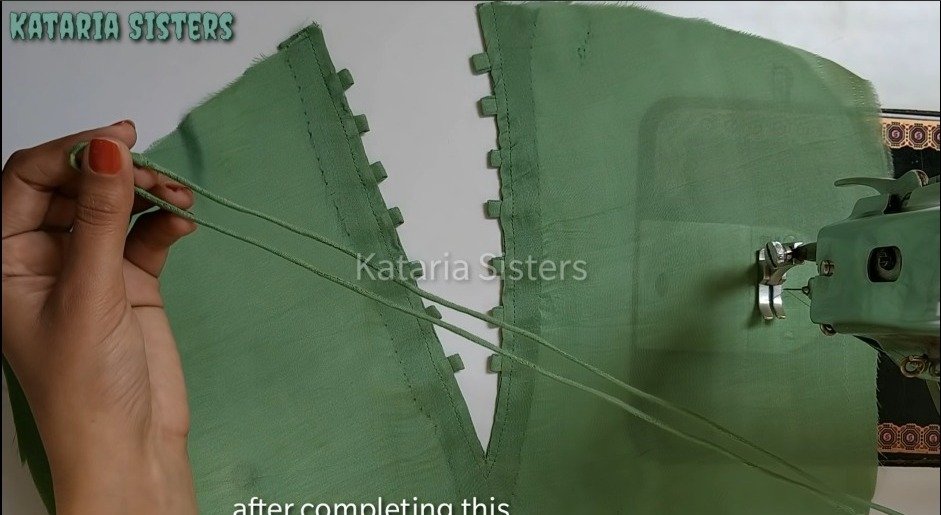
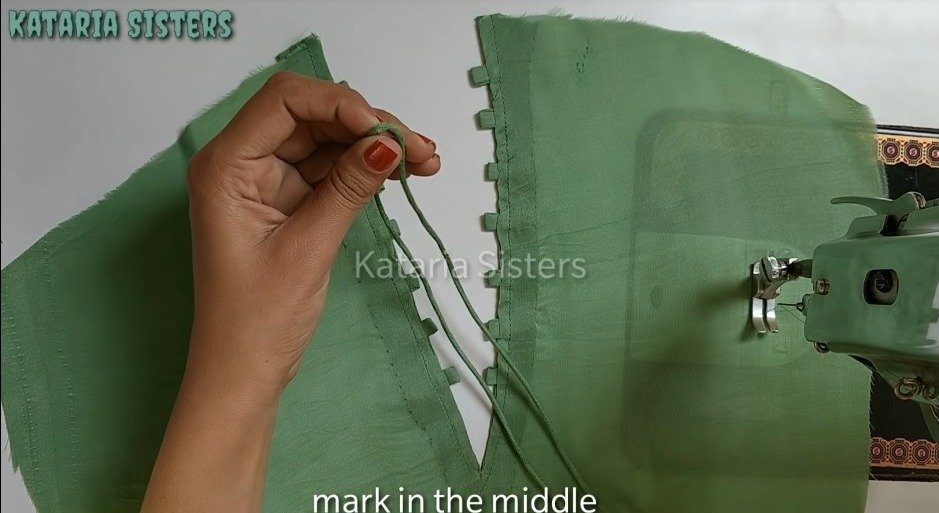
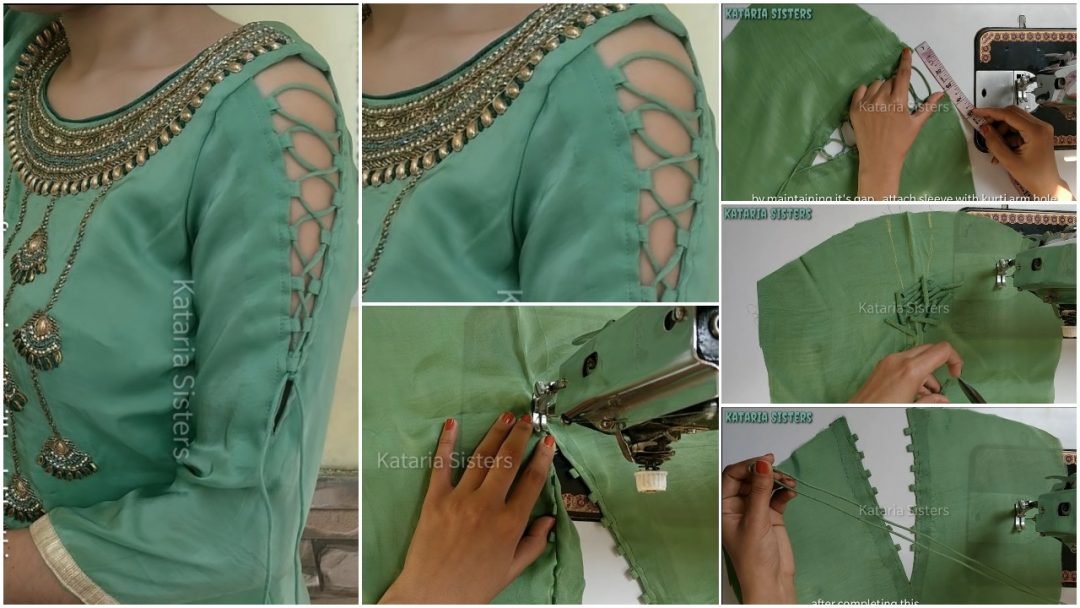
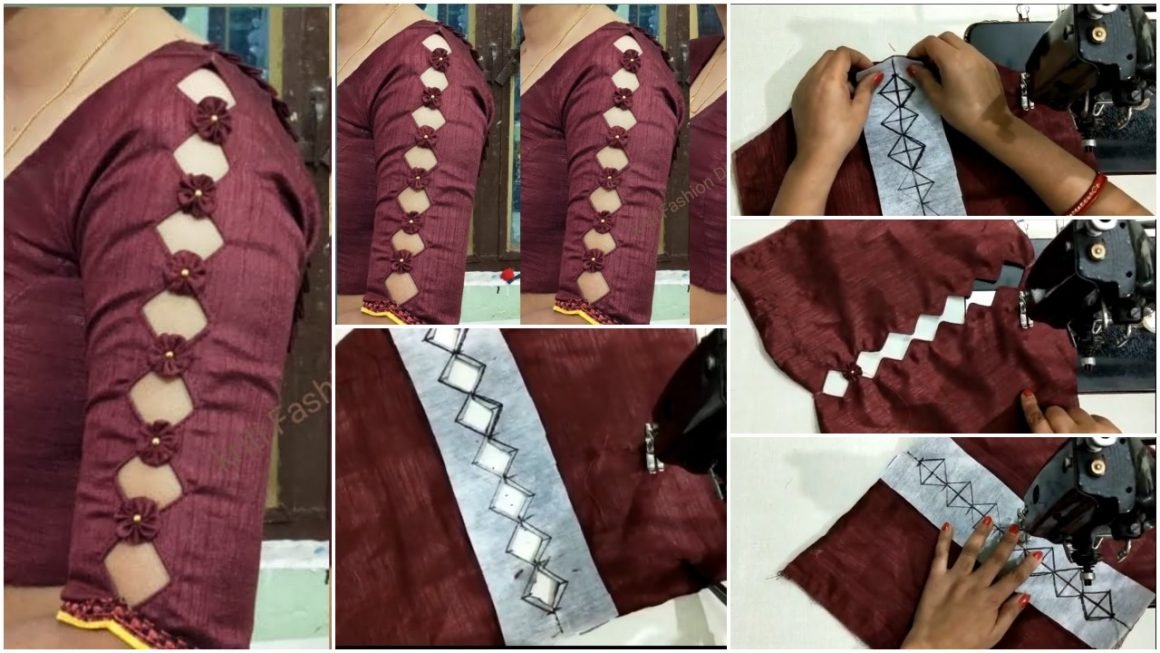
Cutting and stitching tutorial of Dori sleeve design.
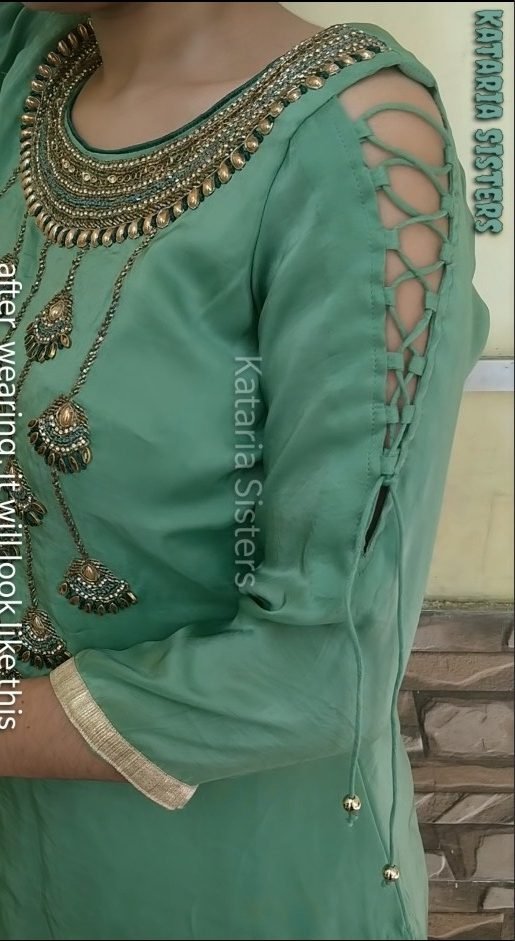
In this tutorial, we will be showing you how to cut and sew a Dori sleeve design. This design is simple yet elegant, and can be used for a variety of garments such as blouses, dresses, and even kurtis. Let’s get started!
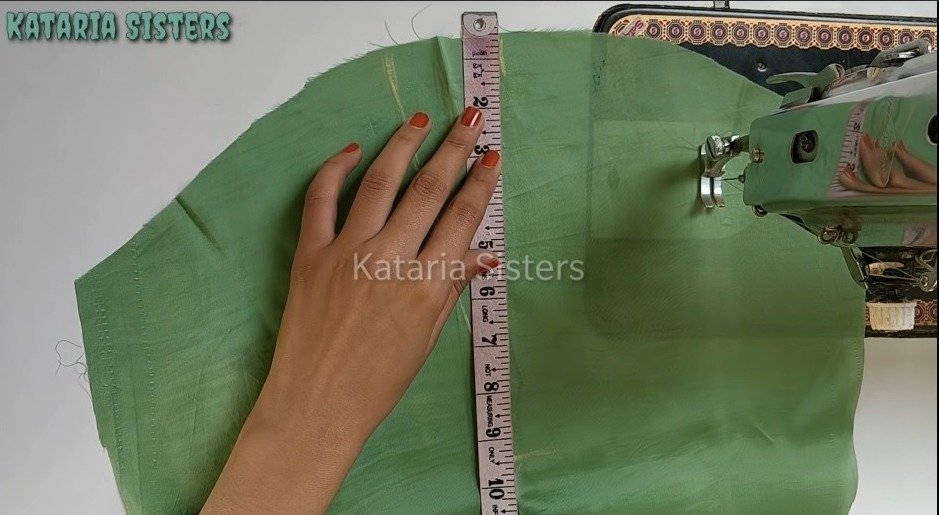
Step 1: Begin by cutting two rectangles out of your fabric. The length of the rectangles will depend on the desired length of your sleeve, but the width should be approximately 10 inches.
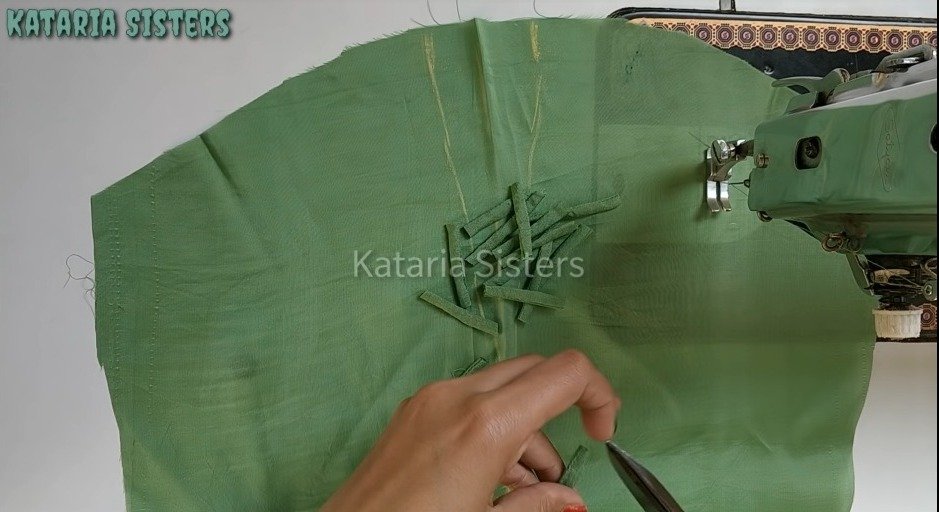
Step 2: Next, take one of the rectangles and fold it in half lengthwise. Using a fabric marker or chalk, draw a curve at the folded edge. This will be the basic shape of your sleeve.
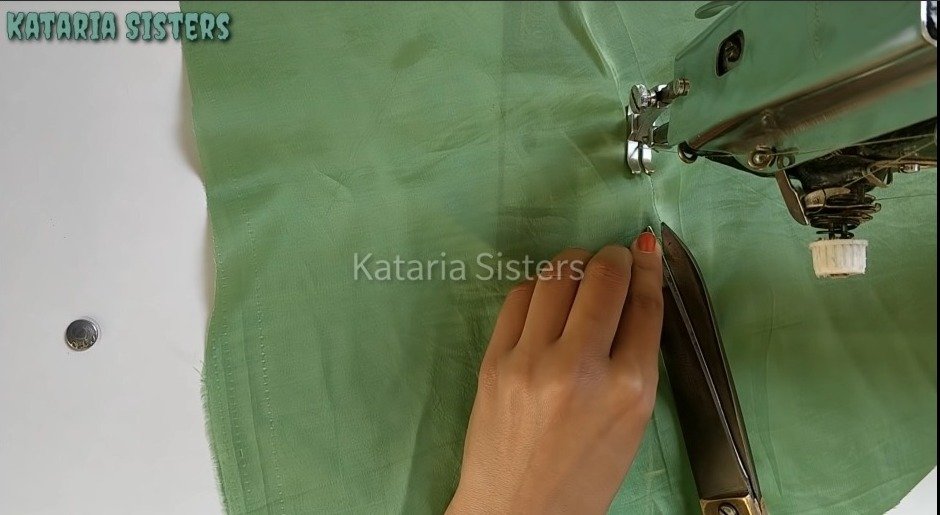
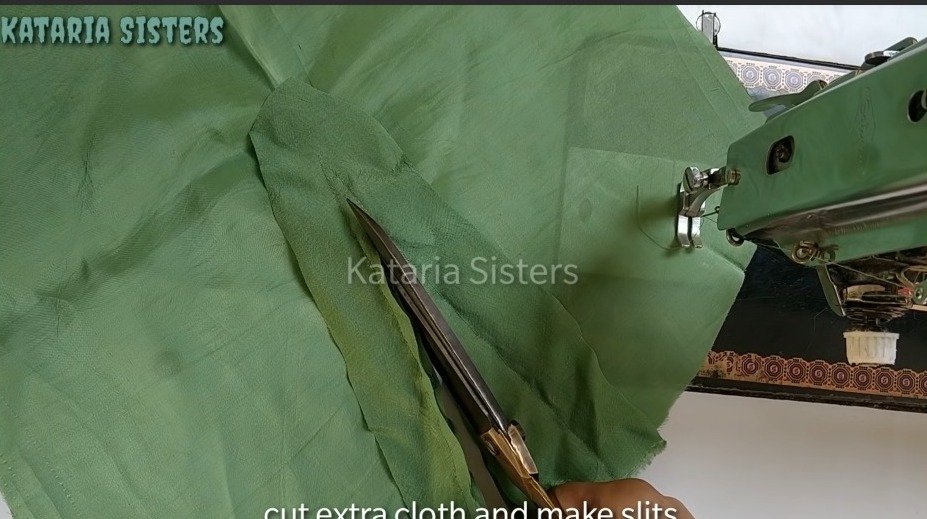
Step 3: Cut along the curve that you just drew, being careful not to cut through the fold. You should now have two semi-circular sleeves.
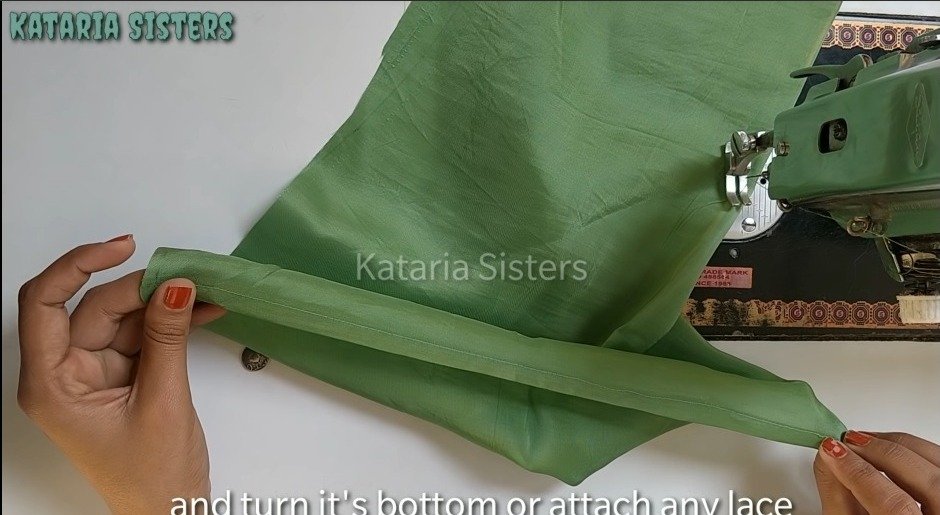
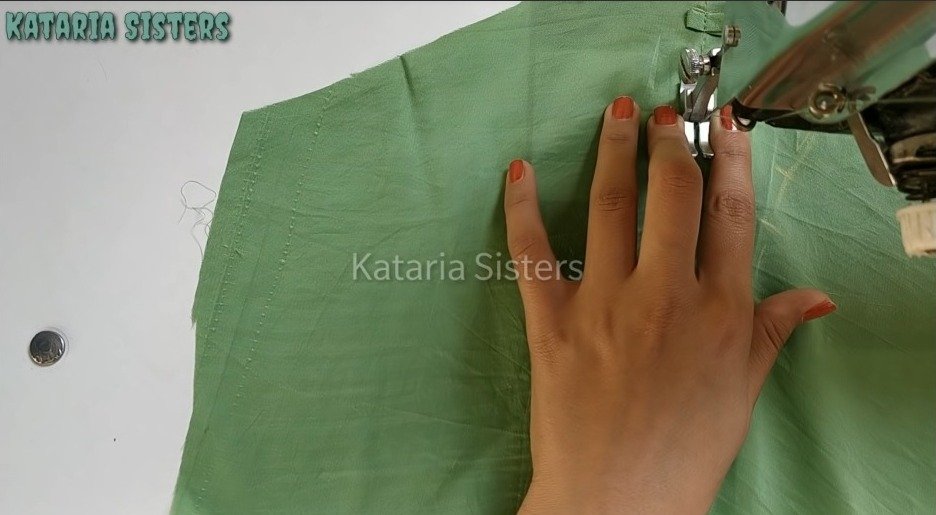
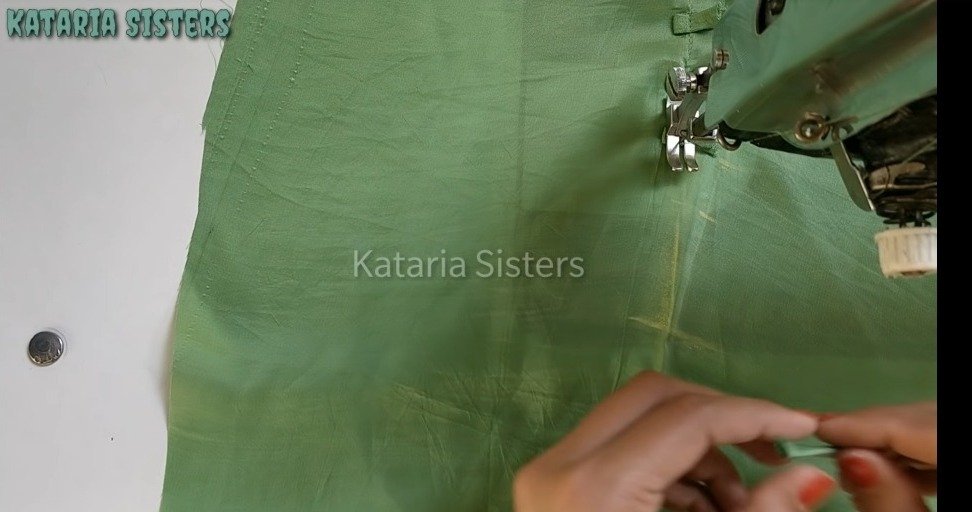
Step 4: It’s time to start sewing! Place the two sleeves right sides together and sew along the curved edge, using a 1/4 inch seam allowance. Be sure to backstitch at the beginning and end of your seam.
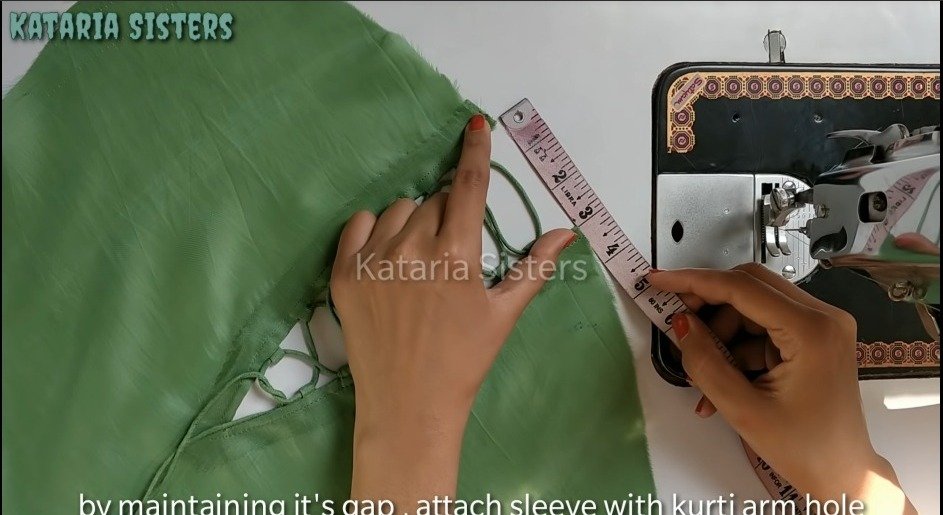
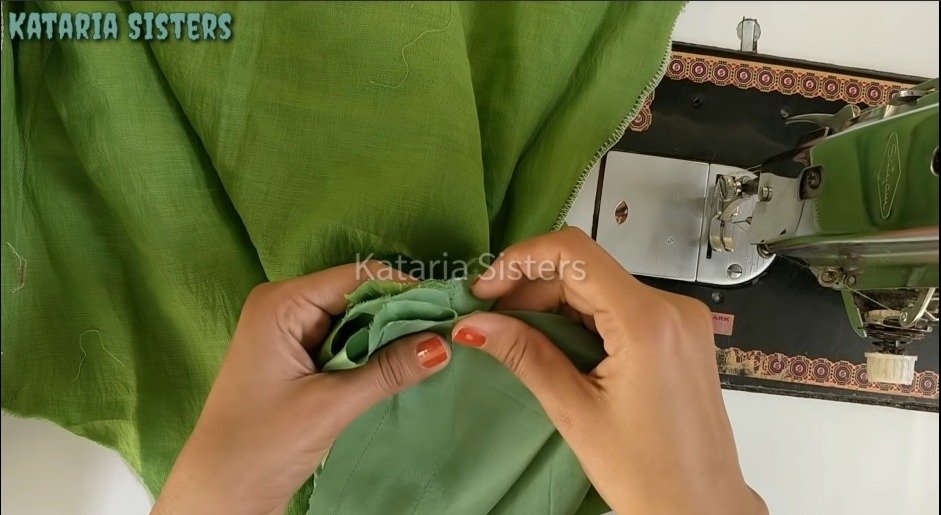
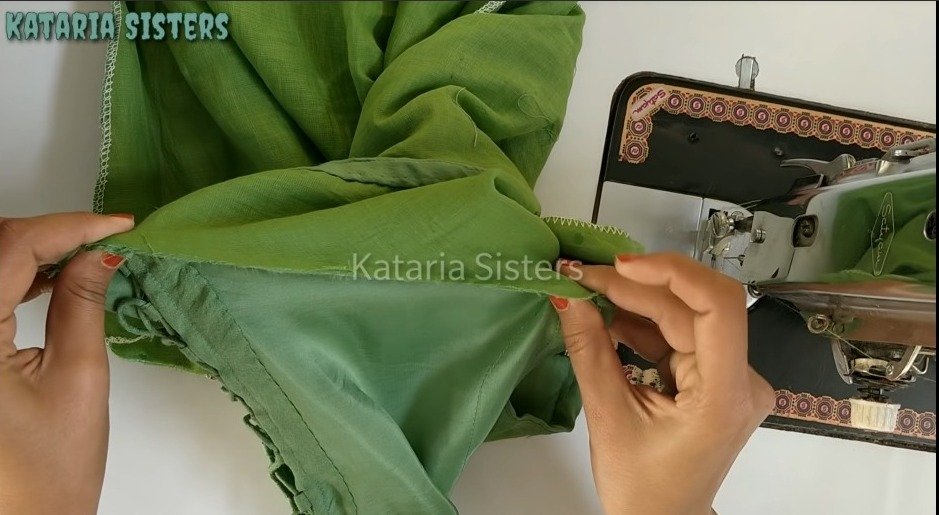
Step 5: Now we’re going to attach the sleeves to the garment body. First, pin the sleeve seam allowance to the garment’s side seam allowance, matching up the notches that you cut earlier. Sew the sleeve in place using a 1/4 inch seam allowance, being careful not to catch any other fabric in your stitches.
Step 6: That’s it! You’ve now successfully sewn in a Dori sleeve design. We hope you found this tutorial helpful. Happy sewing!
