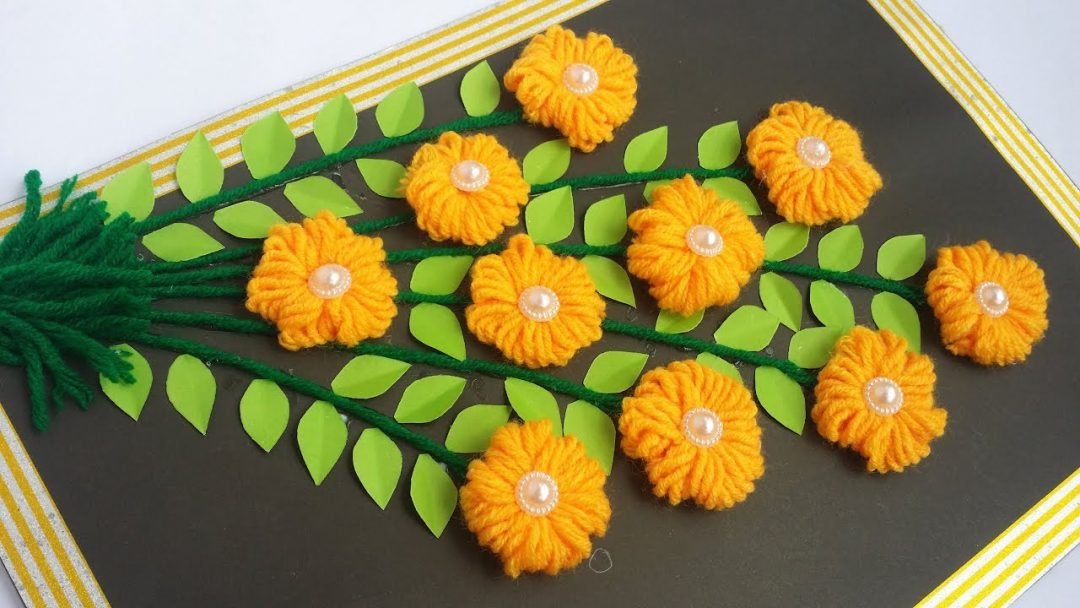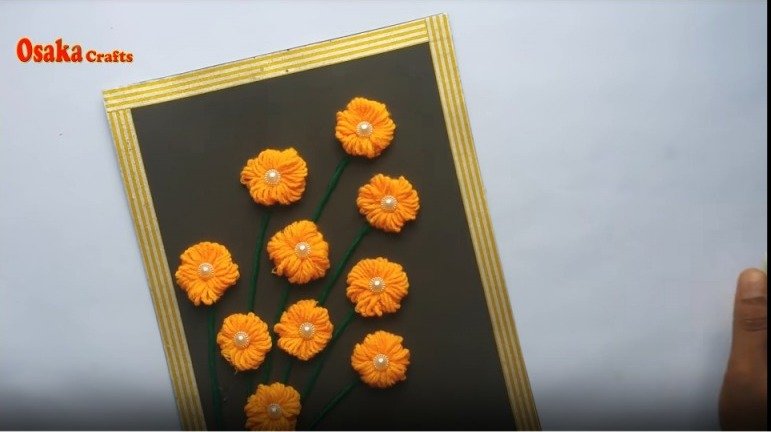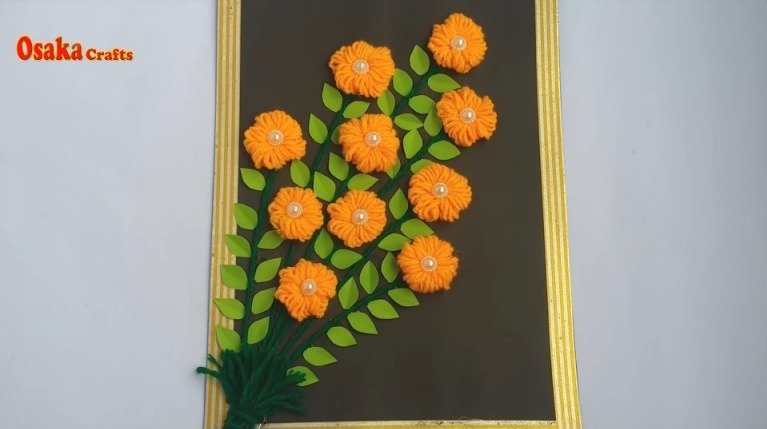
Easy home decoration idea using woolen thread.
Want to add a touch of coziness to your home décor? A woolen wall hanging is the perfect way to do it! Not only are they beautiful, but they’re also surprisingly easy to make. In this blog post, we’ll show you how to create a woolen wall hanging step-by-step.
What You’ll Need
To make a woolen wall hanging, you’ll need the following supplies:
- A wood frame (we used an 8”x10” frame)
- Wool roving (We used two colors: white and light pink)
- Scissors
- Pencil
- White glue
- Hook and loop tape (optional)
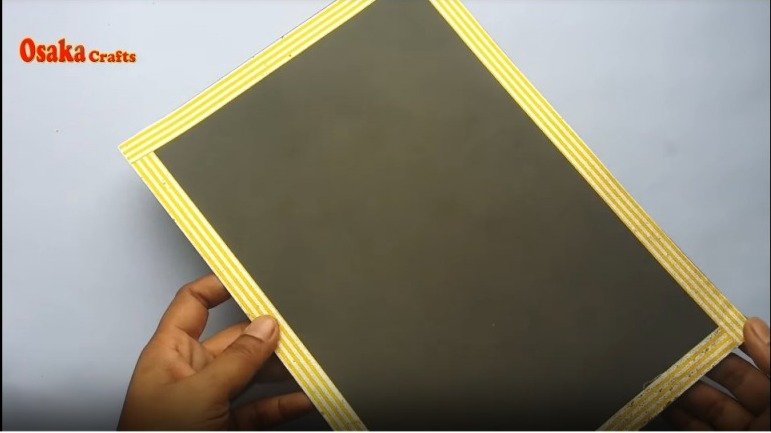
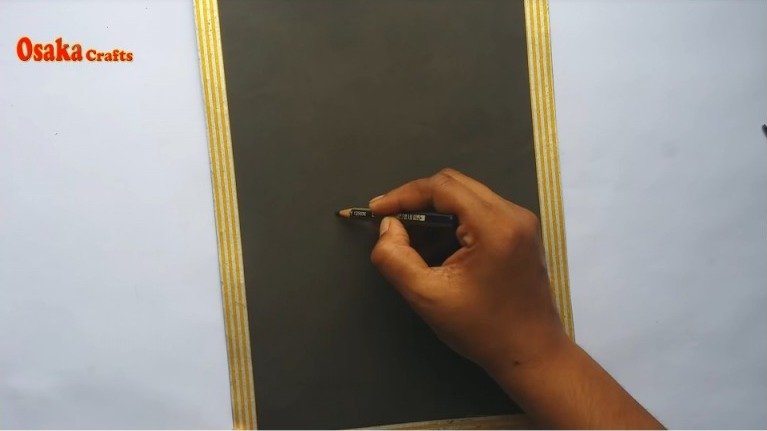
Step 1: Prep Your Frame
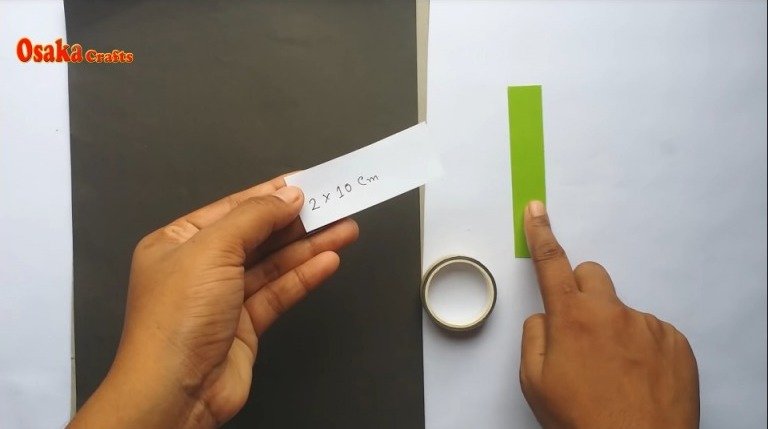
Start by taking the backing off your frame. Then, cut a piece of cardboard to fit inside the frame. We cut ours down to 6”x8”, but you can make yours any size you like. Once you have your cardboard, use scissors to cut slits around the edges. These slits will be where you thread your wool roving later on.
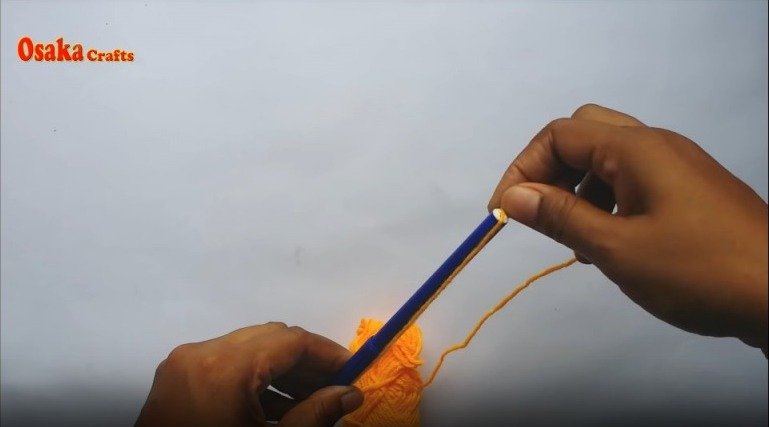
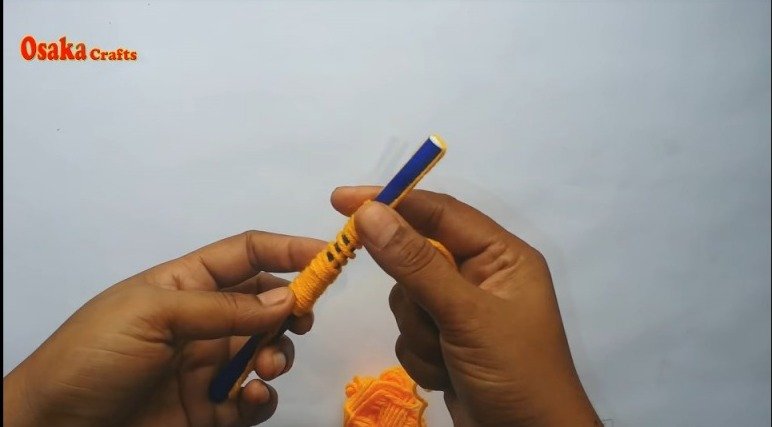
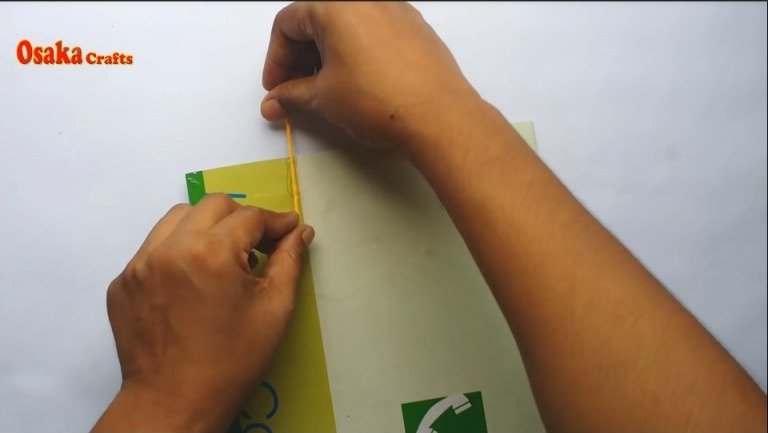
Step 2: Thread Your Wool Roving
Now it’s time to start threading your wool roving through the slits you just made in the cardboard. To do this, cut a 12” length of wool roving, thread it through one of the slits, and then tie a knot at the end. Repeat this process until all of the slits have been filled with wool roving.
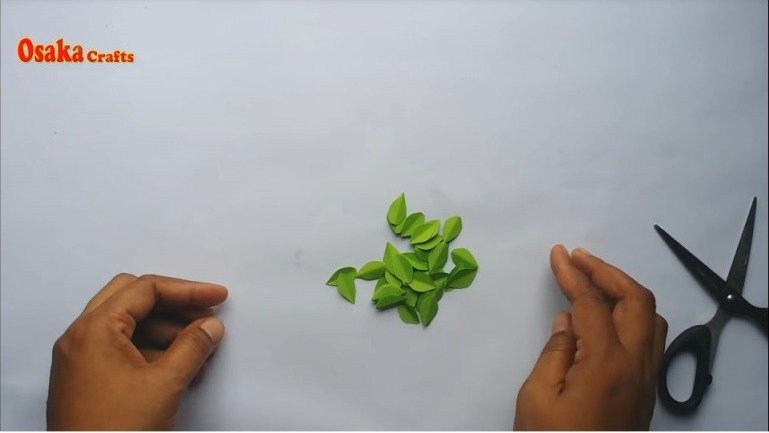
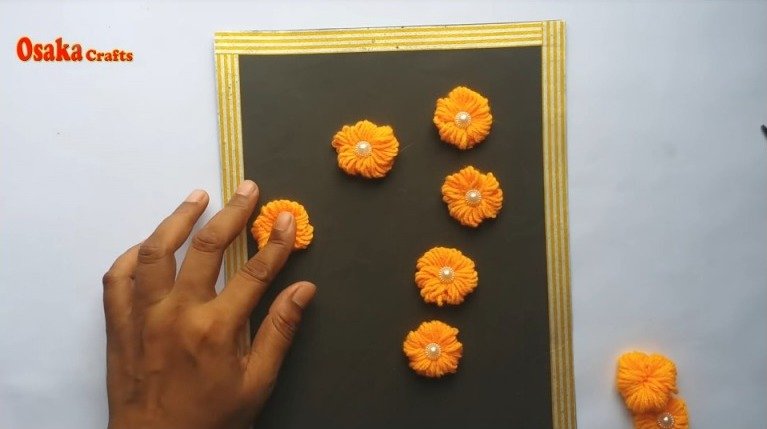
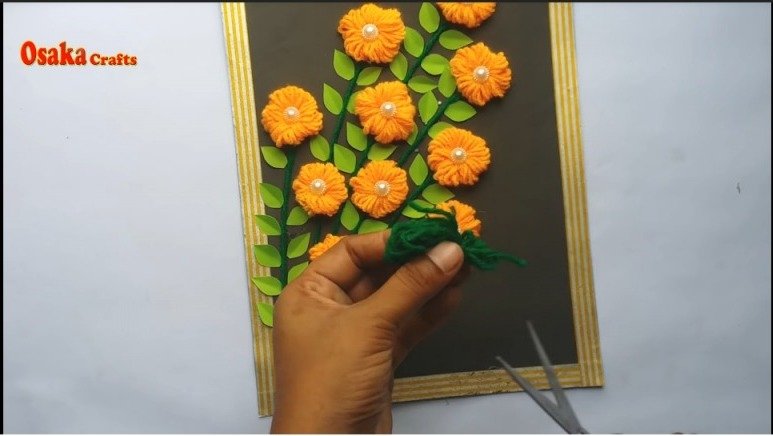
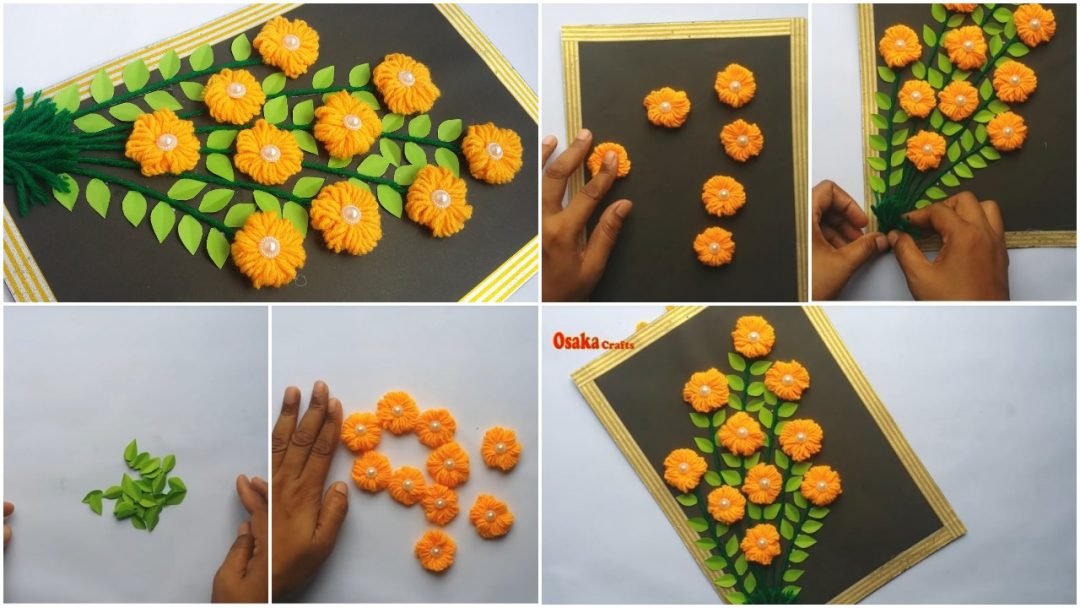
Step 3: Make Your Design
Once all of the slits have been filled with wool roving, it’s time to start thinking about your design. For our design, we chose to keep things simple with a heart shape. But you can really go in any direction you want with this step – be as creative as you like! Once you have your design mapped out on paper, use scissors to carefully cut out your design from the center of the cardboard.
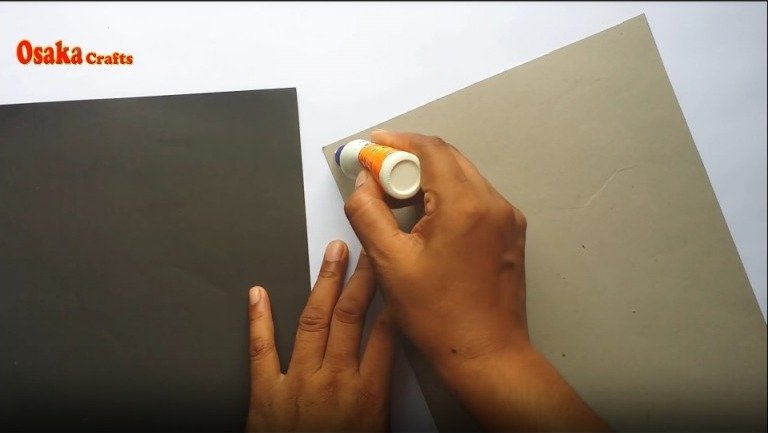
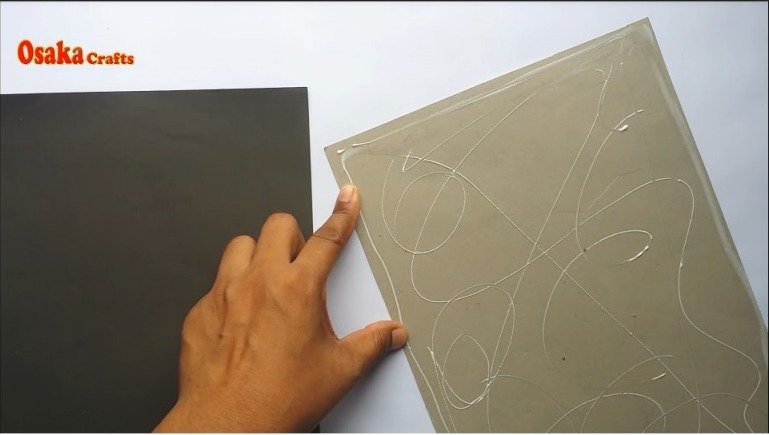
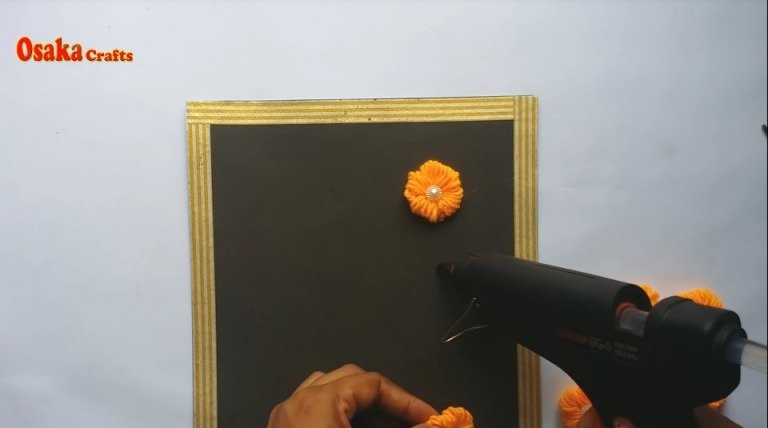
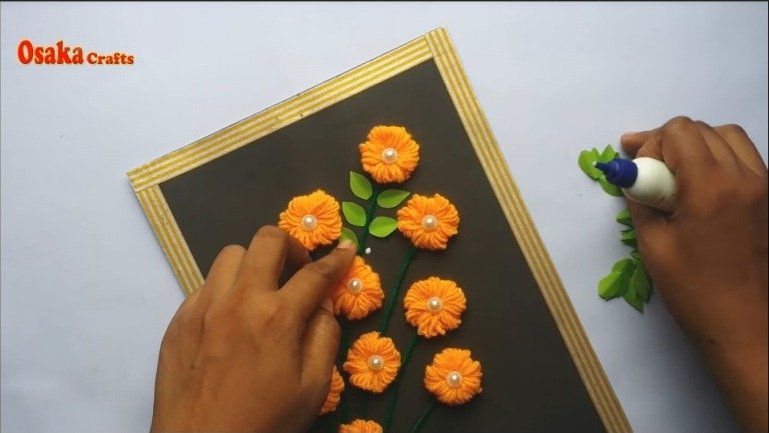
Step 4: Glue Your Design in Place
The next step is to glue your design onto the front of your frame. We used white glue for our project, but you could also use hot glue if you prefer. Carefully place your design onto the front of the frame and press down gently to secure it in place. Set aside your project and allow the glue to dry completely before moving on to the next step.
Step 5: Add Your Hook and Loop Tape (Optional)
If you want to be able to hang your wall hanging easily, add a strip of hook and loop tape along the top back of your frame before proceeding to Step Six. This will make it easy to hang up later on without having to worry about nails or screws leaving holes in your walls.
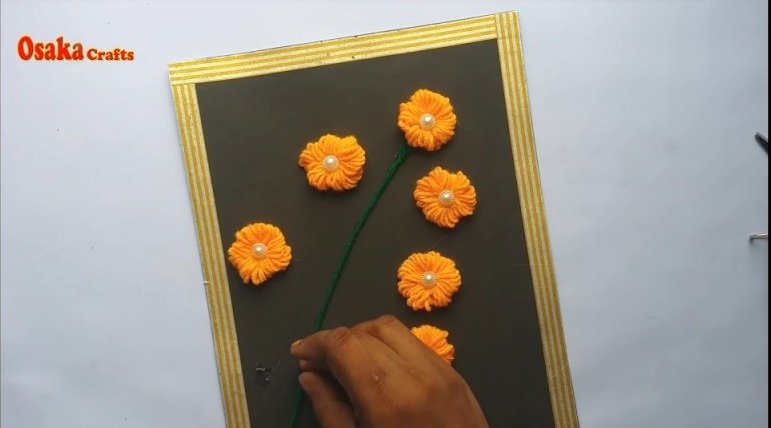
Step 6: Hang Your Wall Hanging and Enjoy!
Your wall hanging is now complete! All that’s left to do is find a spot on your wall where it can shine. We love how our wall hanging turned out and we hope you do too!