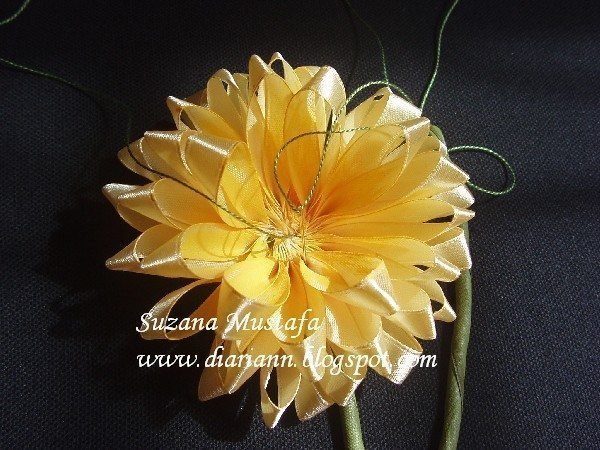
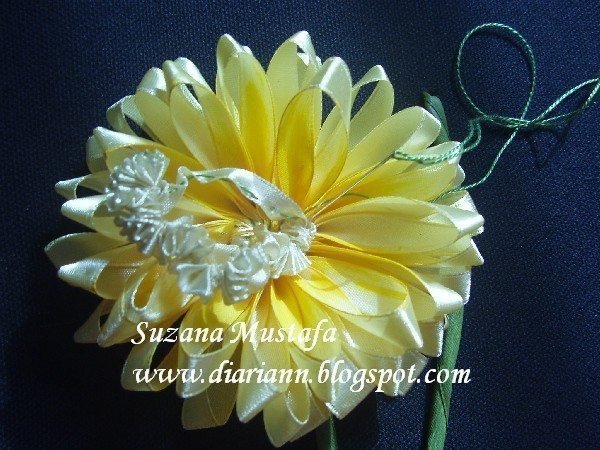
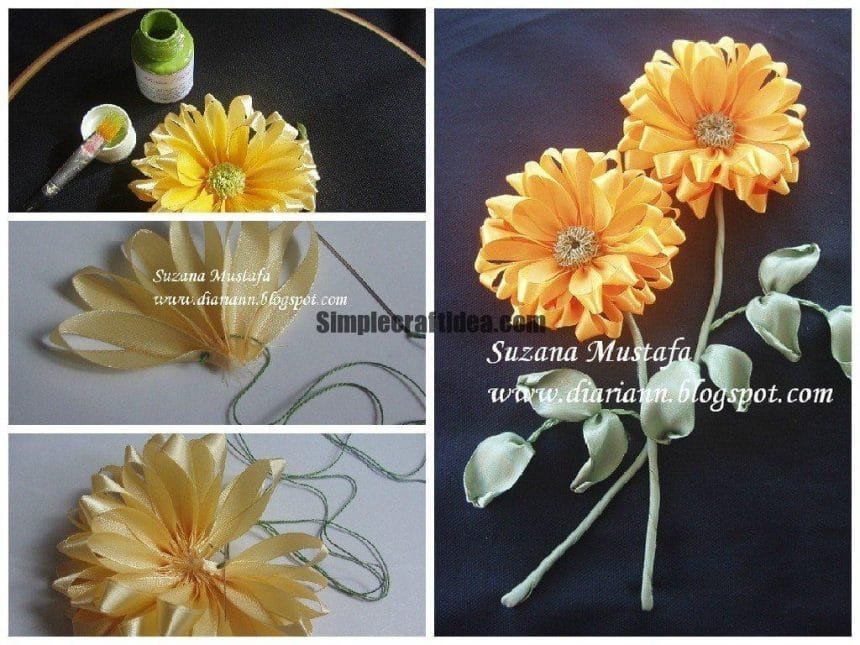
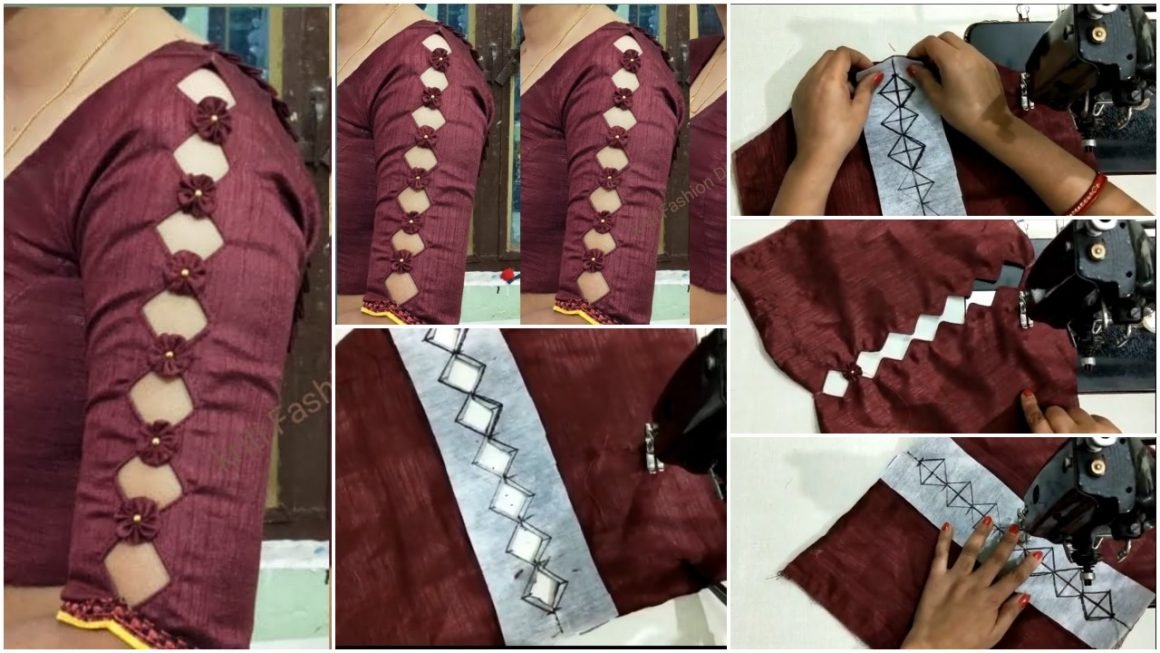
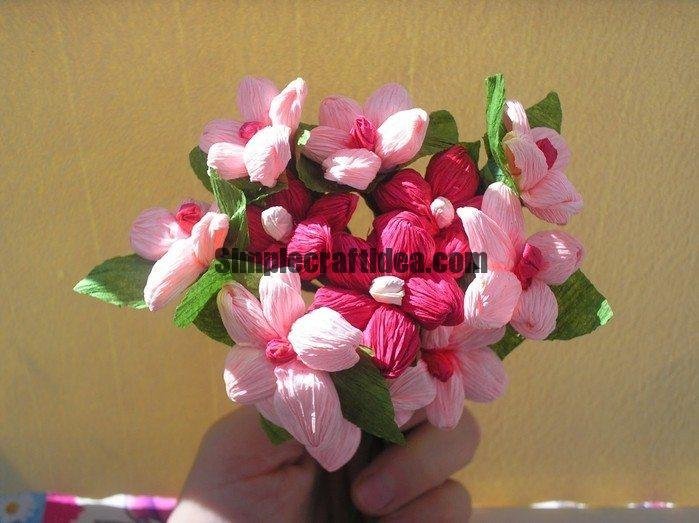
Ribbon flower making is a fun and easy way to add a personal touch to any project, whether it’s a scrapbook page, piece of jewelry, or home decor item. With just a few supplies and some creativity, you can make beautiful ribbon flowers in no time!
Here are some tips for creating your own Ribbon Flowers:
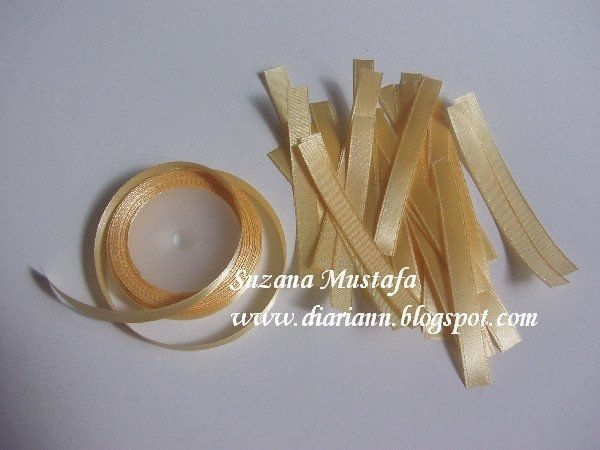
– Choose a Ribbon: The type of ribbon you use will determine the shape and size of your flower. For example, using a wider ribbon will create a fuller flower, while a thinner ribbon will create a more delicate flower.
– Cut the Ribbon: Using sharp scissors, cut the ribbon into strips of varying lengths. The shorter strips will be used for the center of the flower, and the longer strips will be used for the petals.
– Create the Center: To create the center of the flower, take a short strip of ribbon and tie it in a knot. Then, thread a needle with a long piece of thread and stitch through the middle of the knot. This will secure the center of the flower.
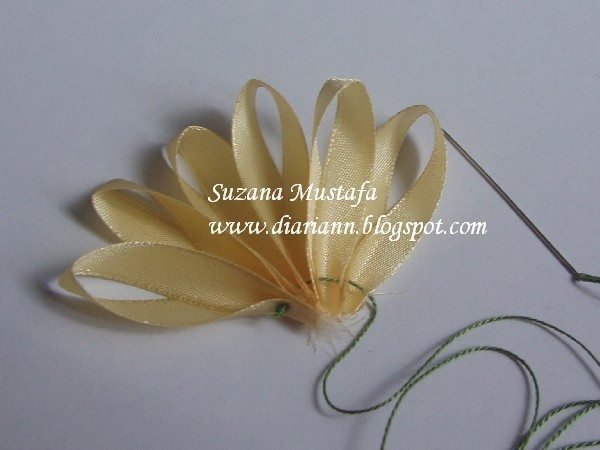
– Create the Petals: To create the petals, take a long strip of ribbon and fold it in half. Then, stitch through the middle of the fold to secure it. Next, take one end of the ribbon and curl it around your finger to form a loop. Stitch through the loop to secure it, and then repeat with the other end of the ribbon. Continue until all the petals are complete.
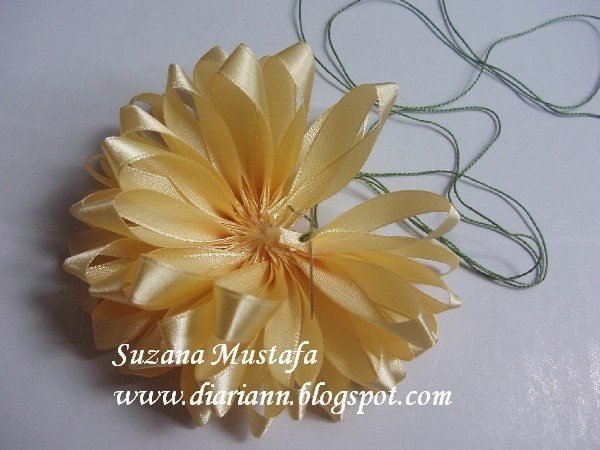
– Attach the Petals: Once all the petals are formed, it’s time to attach them to the center of the flower. To do this, simply stitch each petal onto the center piece.
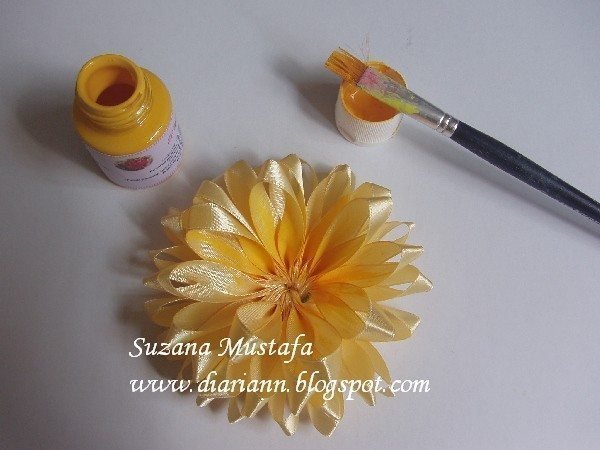
– Finish Off: Once all the petals are attached, you can trim the ends of the Ribbon if desired. You can also add a little bit of hot glue to the back of the flower to secure it onto whatever surface you’re using.
With these tips, you’ll be able to create beautiful Ribbon Flowers in no time! So get creative and have fun!

