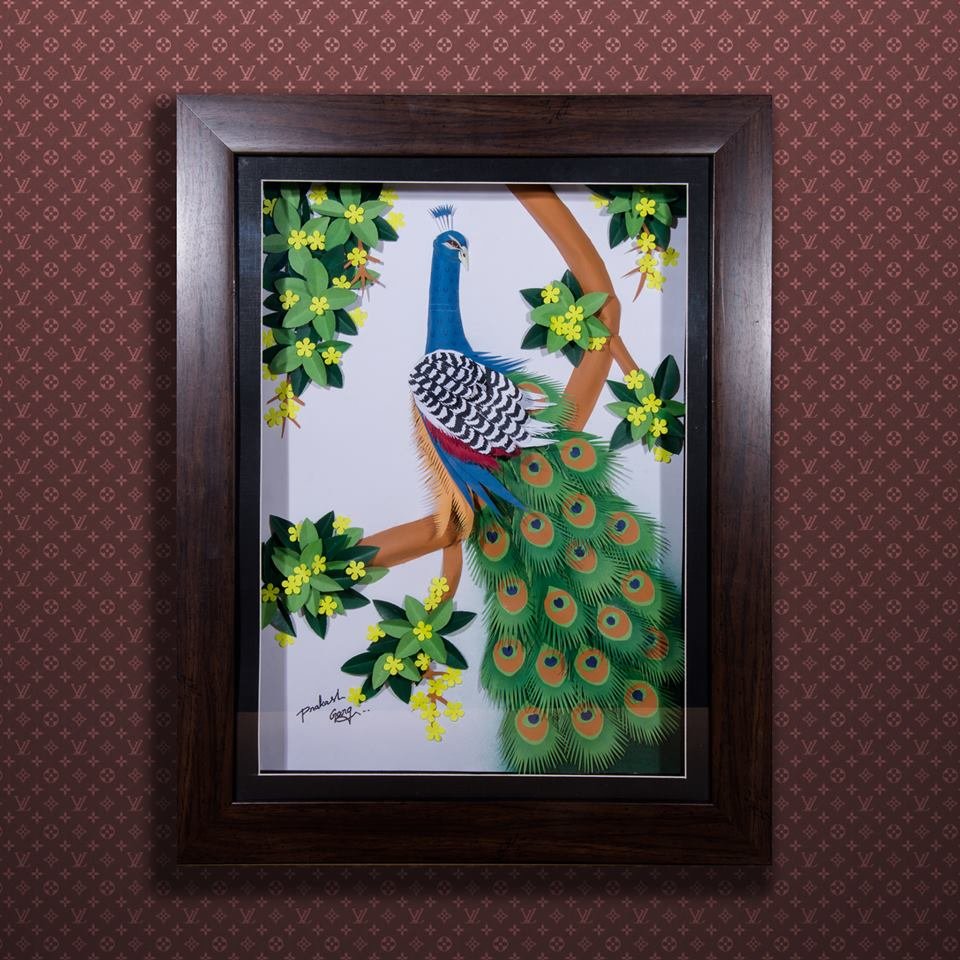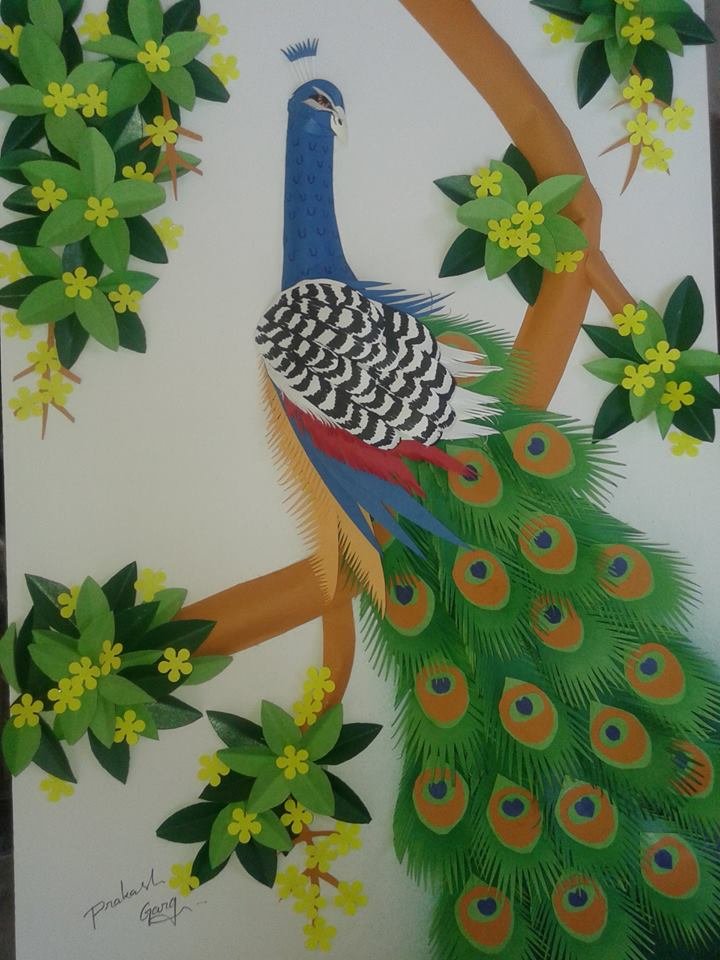
You can make a beautiful paper peacock using this technique. Follow the pictures to see the steps.
Making a paper peacock is a fun and easy craft that can be enjoyed by people of all ages. All you need is some colorful paper, scissors, and a little bit of glue. Follow the steps below to make your very own peacock!
Step 1. Start with a square piece of paper. Fold it in half diagonally to create a triangle.
Step 2. Cut along the folded edge to create two triangles. You will now have two pieces of paper that are the same size and shape.
Step 3. Take one of the triangles and fold it in half again diagonally. Cut along the folded edge to create two smaller triangles. Set one of these triangles aside – you will only need three total for your peacocktail.
Step 4. On the remaining large triangle, make a small cut about halfway up the long side (as shown in the photo). This cut will be used to help form the peacock’s tail feathers later on.
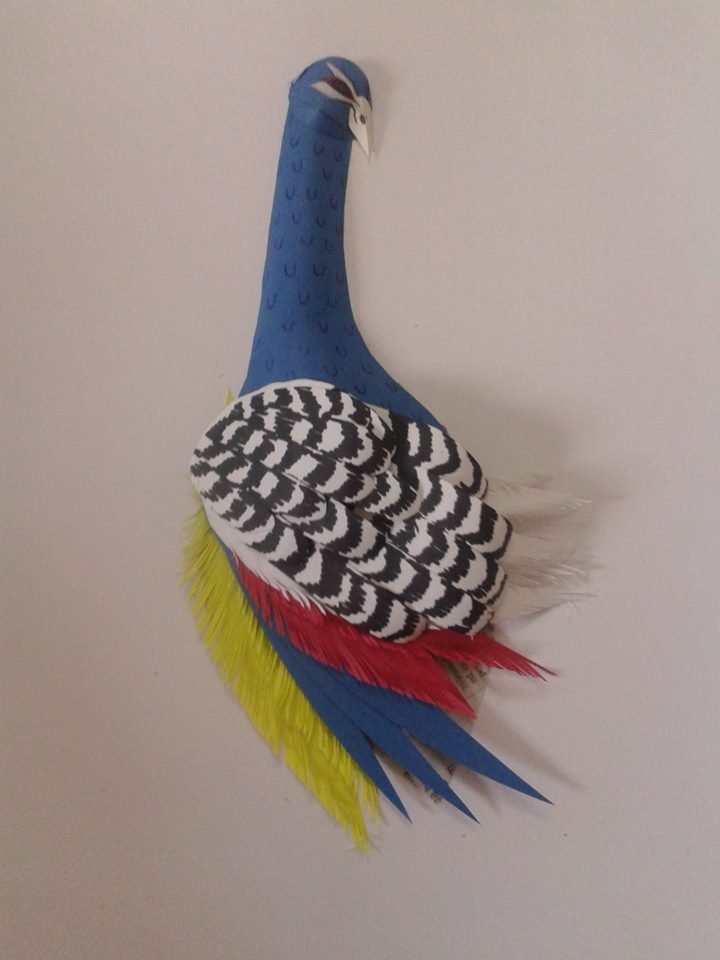
Step 5. Next, take your three small triangles and accordion fold them (folding them back-and-forth like a fan). Once you have finished folding all three triangles, glue them together at the center point.
Step 6. To finish forming the peacock’s tail, glue the bottom point of your accordion-folded trio to the backside of your large triangle (aligning it with the small cut you made earlier). The result should look something like a peacock’s fanning tail feathers!
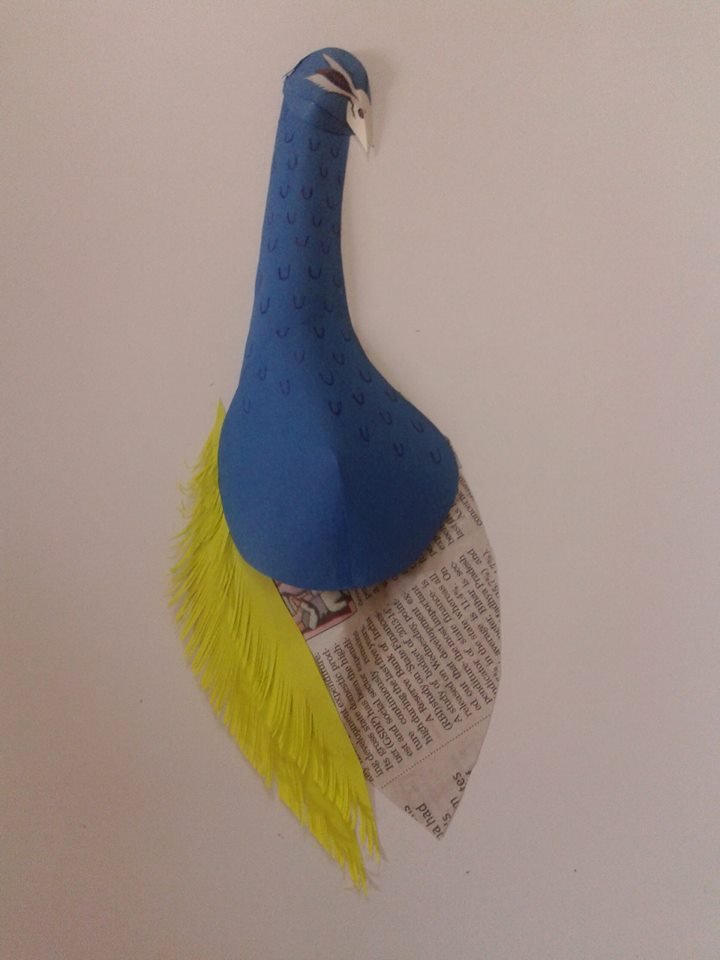
Step 7. For the body, take your other large triangle and roll it into a cone shape. Glue or tape the edges together to secure it.
Step 8. Finally, attach your head and tail feathers to the body to complete your peacock! If you want, you can also add googly eyes or any other embellishments you like.