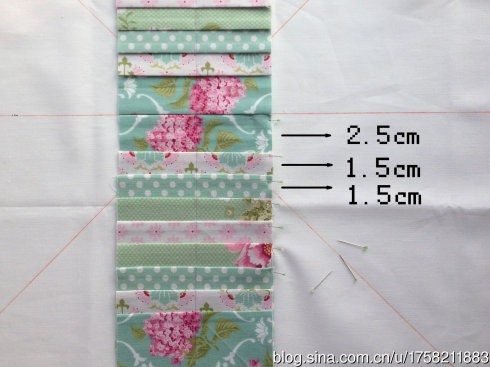
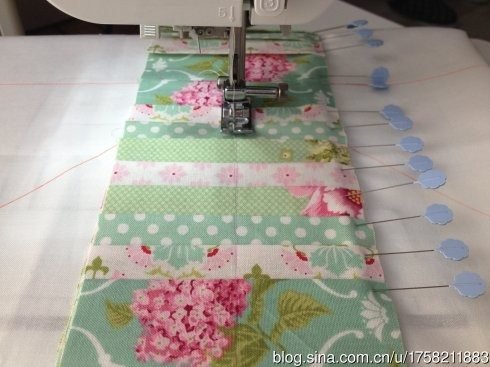
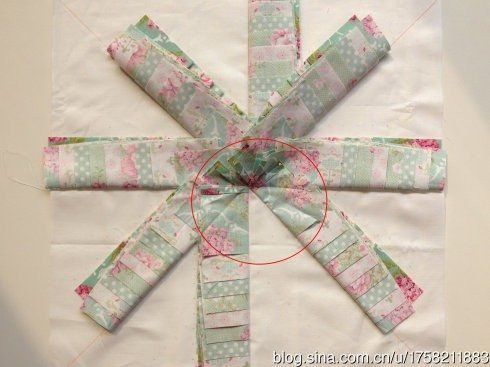
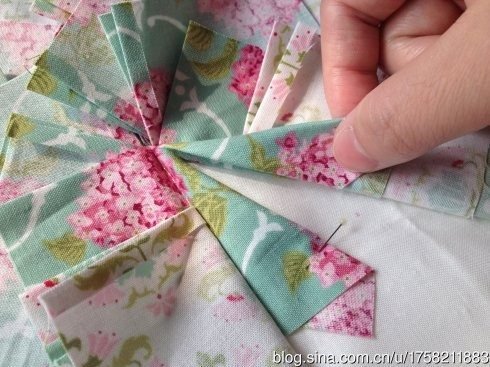
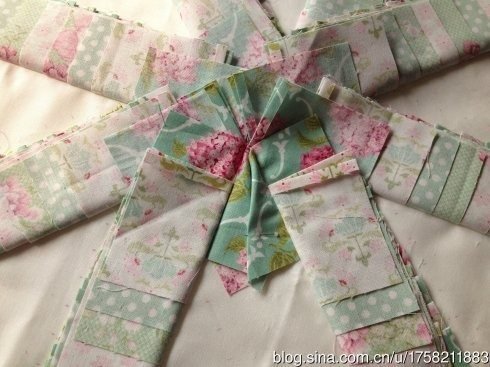
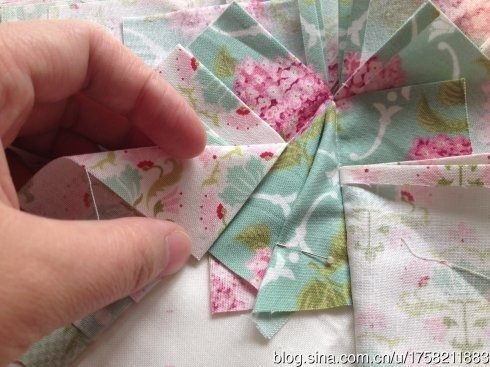
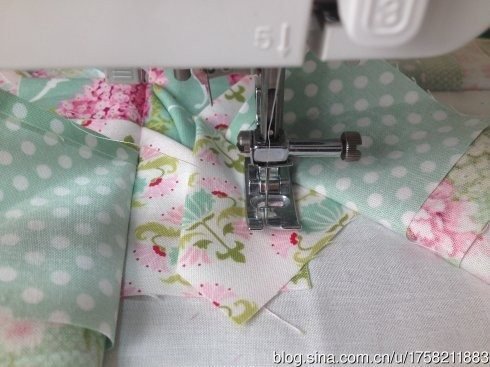
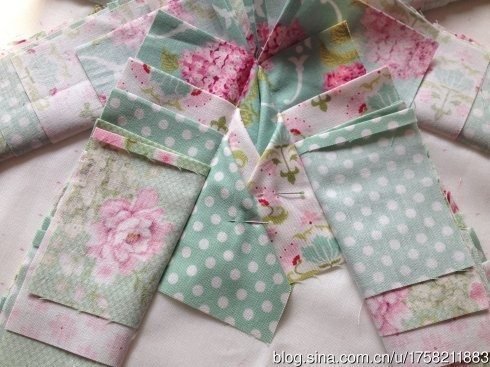
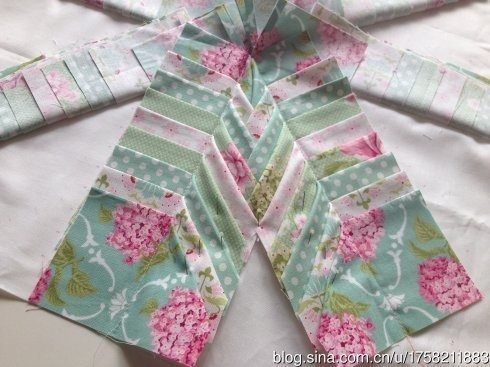
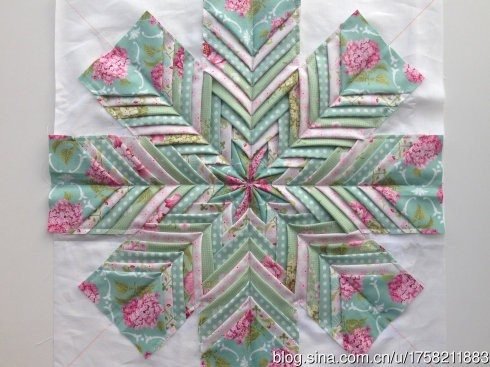
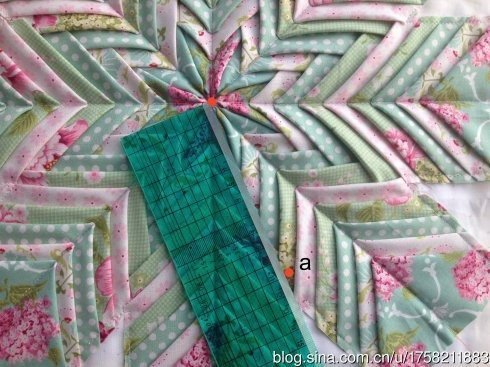
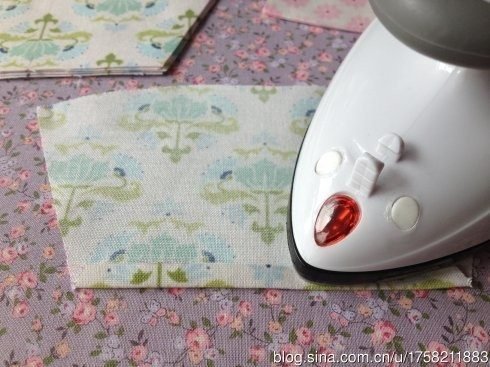
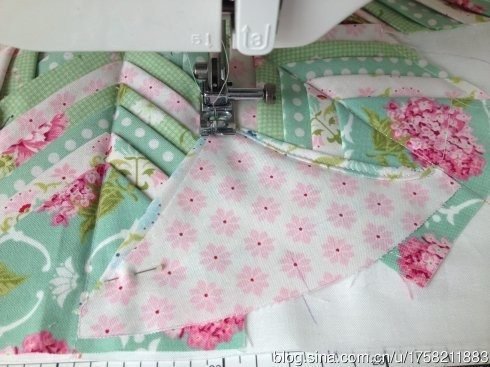
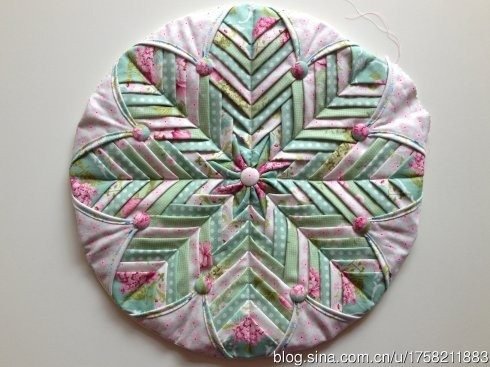
Start by cutting two pieces of the same size from the fabric of your choice. Spread the fabric out on a flat surface and place one piece on top of the other in opposite directions. Pin these pieces together by placing pins around all sides of the fabric.
Now, draw a pattern onto each side of the pin-secured fabric. A simple pattern of a patchwork design may be used, but the choice is up to you. The size and shape of each patch should be uniform for a more effective look.
Using fabric scissors, begin cutting your fabric along the lines you have drawn. Make sure that all pieces are cut at the same time so that both sides of the fabric have identical patches. Once you have cut all of your pieces, begin sewing them together to form a quilt square.
Using sturdy thread, stitch each patch together. Make sure that each stitch is tight and secure so that your cushion will look professionally made. Stitch along the entire perimeter of the quilt square until it is entirely sewn together.
Now, place the finished cushion of patches on top of your other piece of fabric. Pin it down along all sides and stitch the two pieces together until you form a single piece of fabric with the cushion embedded in it.
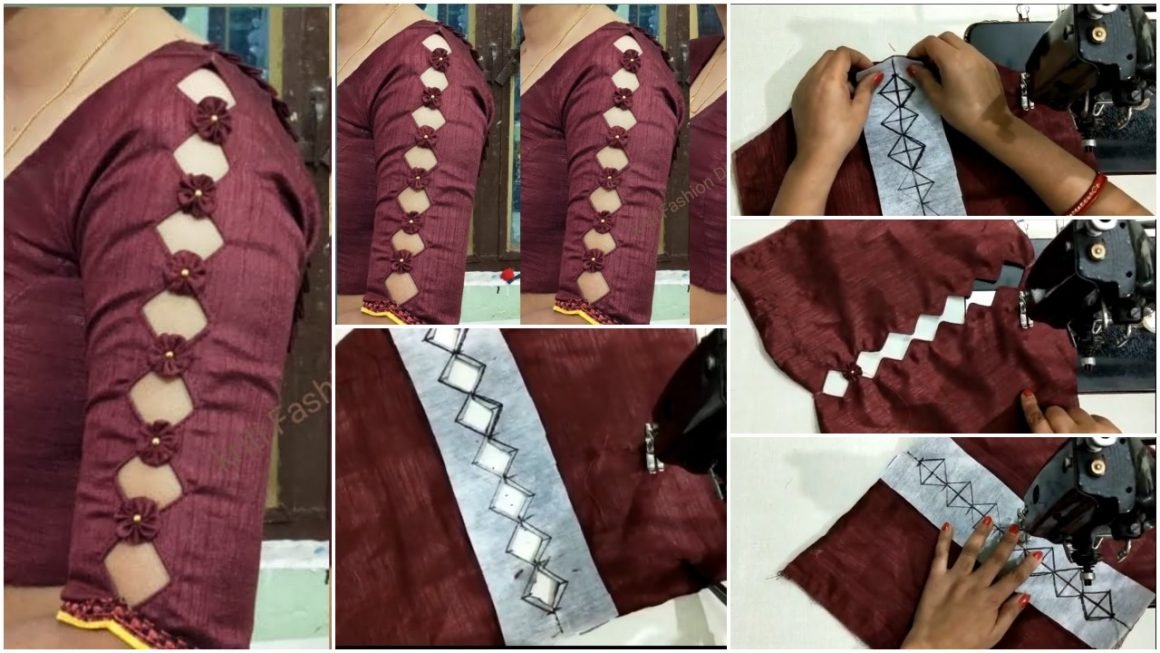
You can now begin to add additional decorations or shapes that will bring your cushion of patches to life. Embroidery, appliqué, buttons and beads can be used to make your cushion look as unique and creative as you desire.
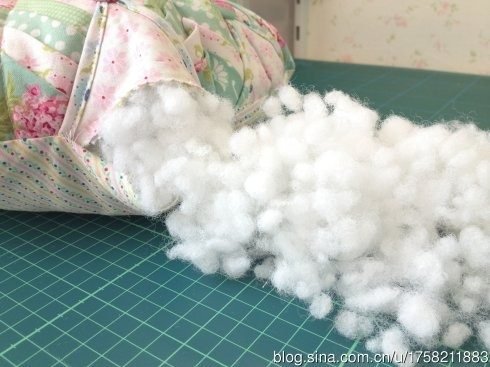
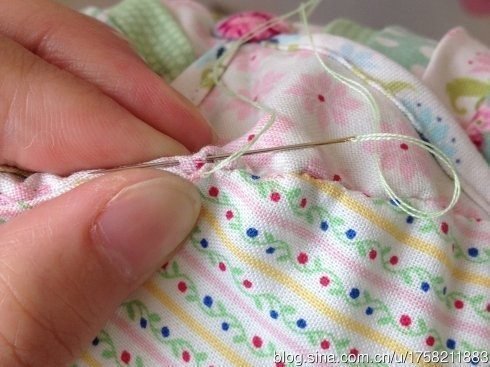
Once all of your additions have been made, turn the fabric inside out and stuff it with batting or other material of your choice. Stitch up any open holes in order to close the cushion completely.
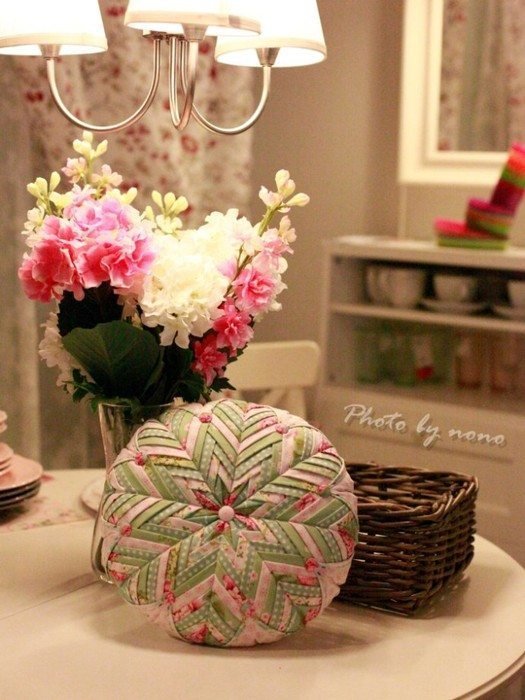
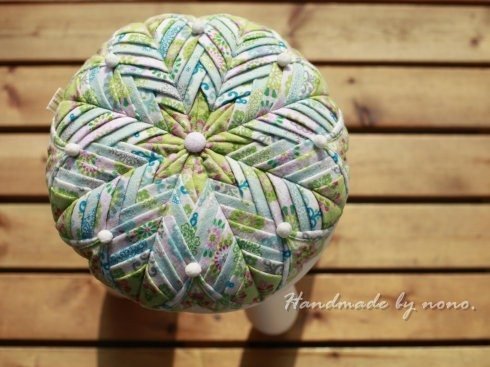
Your finished cushion of patches is now ready for use! Enjoy the unique pattern and colors that you have created. There are endless possibilities when it comes to creating a one-of-a-kind cushion with this simple method. Have fun experimenting with different fabrics, patterns and decorations to make your own beautiful cushion of patches. Enjoy!
