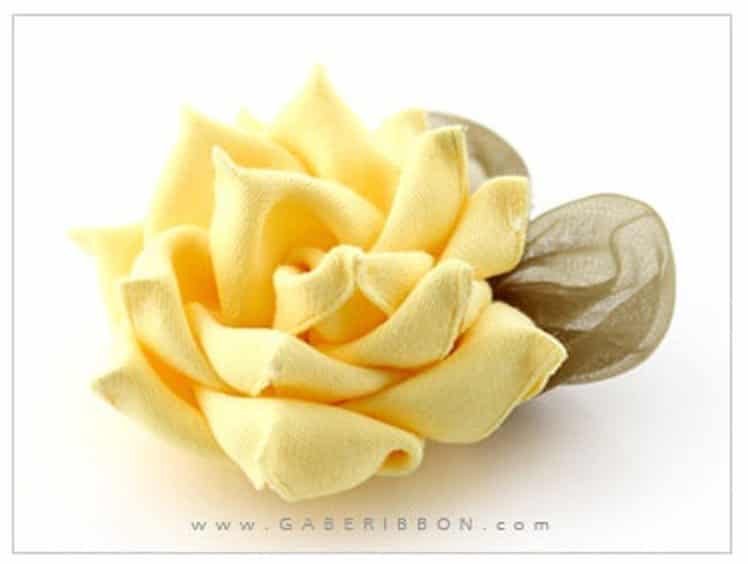
Making satin ribbon roses is a great way to add an elegant touch to any craft project or decor. This easy-to-follow tutorial will guide you through the process of making a satin ribbon rose from start to finish. You’ll need satin ribbon in your desired color, scissors, and glue.
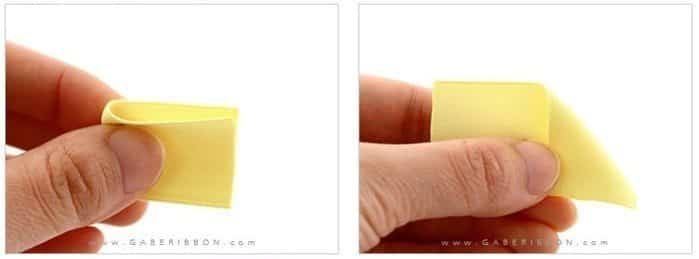
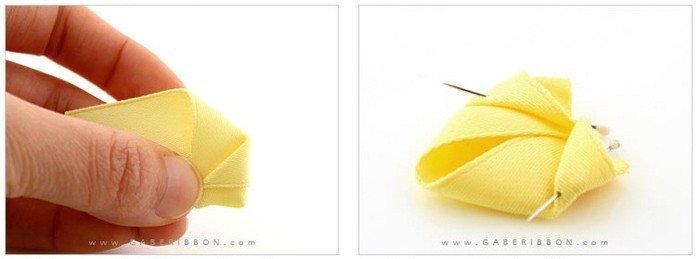
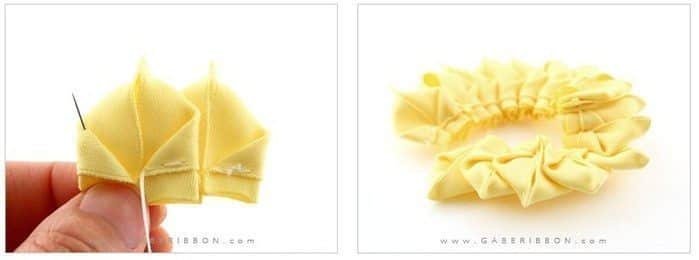
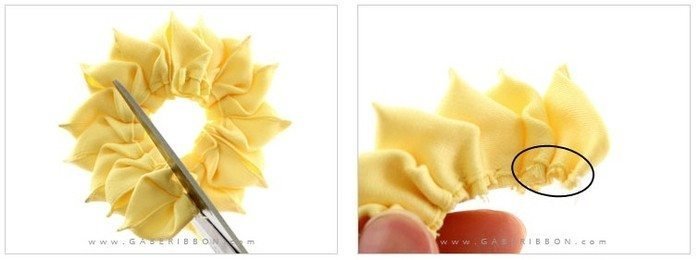
Begin by cutting four strips of satin ribbon about three inches long. Take two of the strips and overlay them on top of each other, then fold in half lengthwise. Make sure the sides are even with one another so that when you twist the ribbon together it will create a spiral effect. Twist the folded ribbon until it forms a rose-like shape and secure at the bottom with glue.
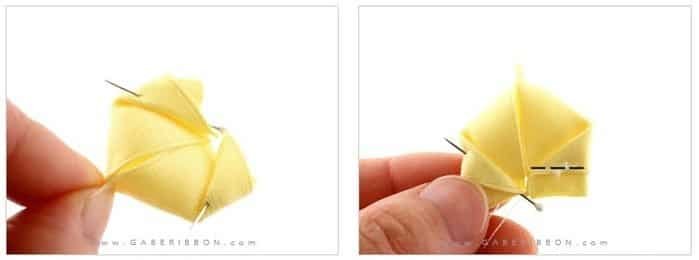
Next, take the remaining two strips of satin ribbon and repeat the same steps as before. However, this time twist them together a little tighter so that they overlap in the center. Then use your fingers to form the flower petals by pushing down on each side of the rose shape. Secure this satin ribbon flower by gluing the bottom.
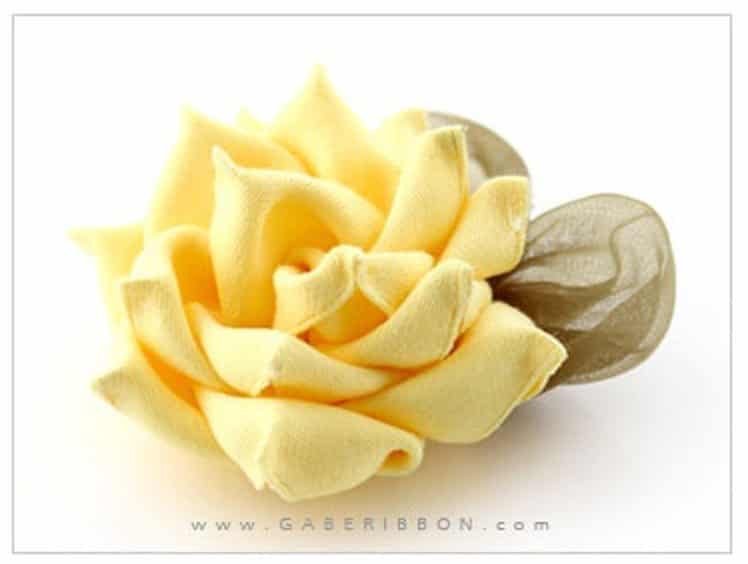
Once both satin ribbon flower pieces are complete, glue them together in the center of one another to create a larger rose shape. Add an extra pop of color by adding a satin ribbon bow or any other embellishment you’d like! Your satin ribbon rose is now complete and ready for your crafting project. With this tutorial as your guide, you’ll be able to create satin ribbon flowers in no time. Enjoy!
