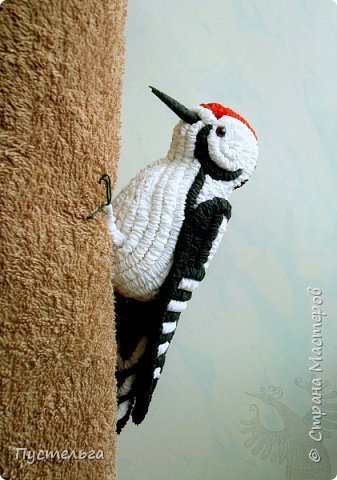
Let’s make a beautiful woodpecker using paper. Get ready to do the Paper Art.
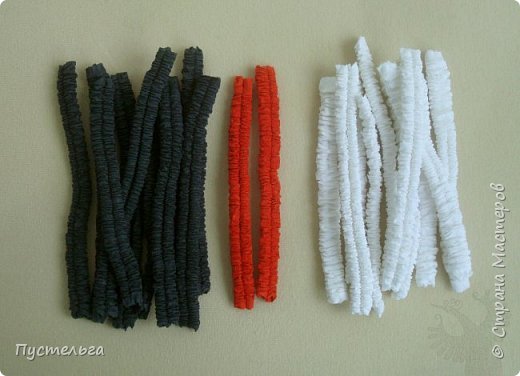
Start by twisting black, white and red papers.
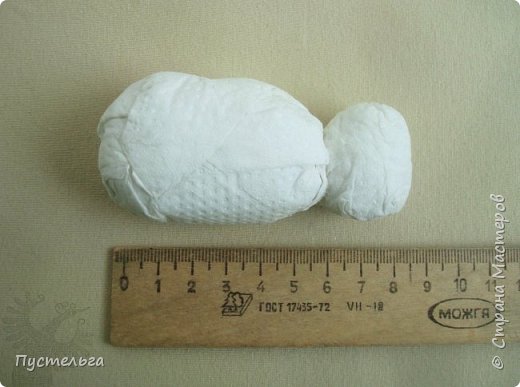
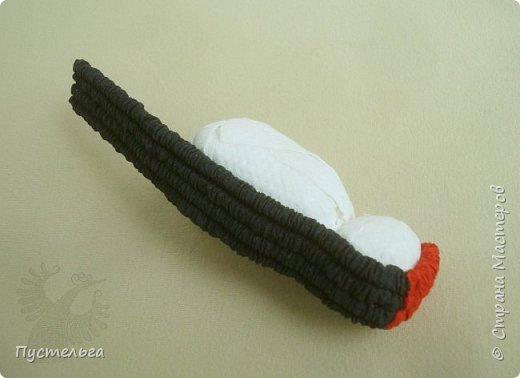
For the body, use napkins other papers to make 2 oval shapes and then glue them.
Glue black and red as shown in the below image.
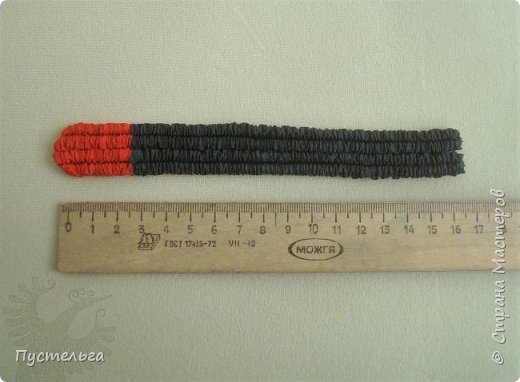
Attach it to the head and back of the bird. Then glue it.
Roll two paper tubes as shown below. We will use it as cheeks
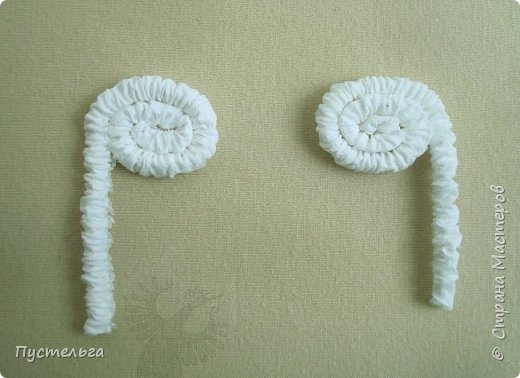
Glue the cheeks on bird.
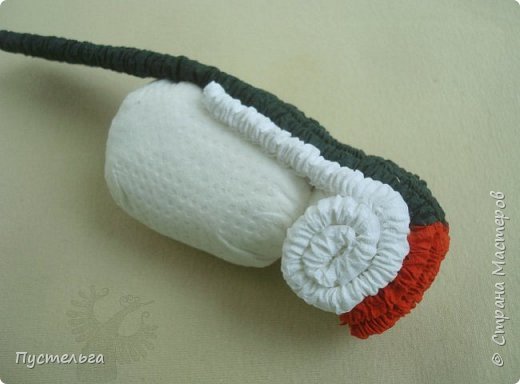
Attach small piece of paper tube on white forehead.

Glue white tubes as shown below. And also black tube on side.
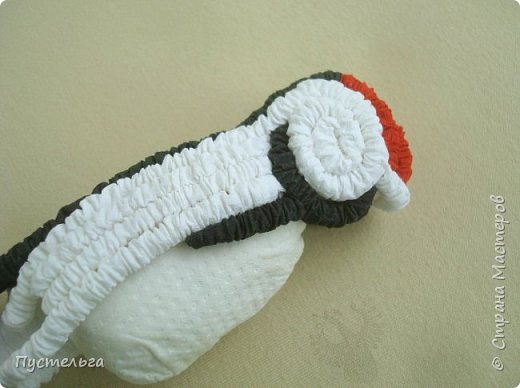
Glue white tubes to fill the remaining area.
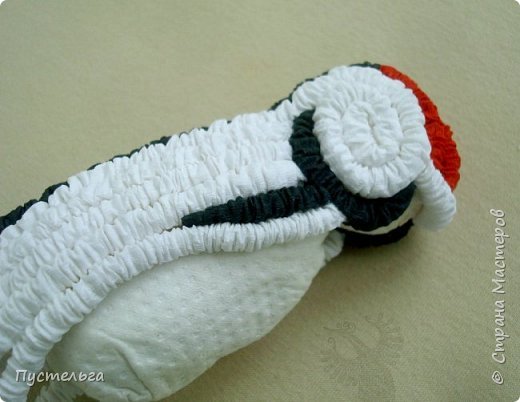
Do not glue tips of the white tubes as we will glue them after filling the area. Those tips can join bottom.
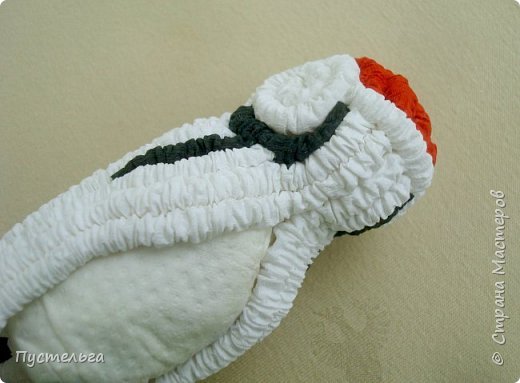
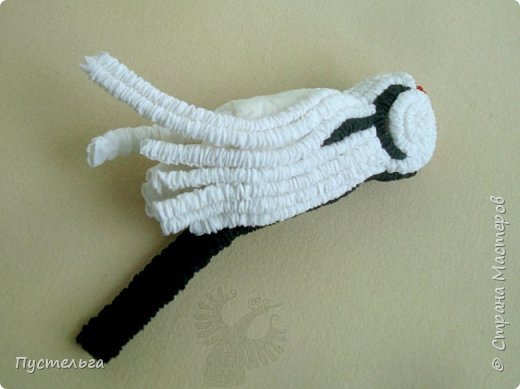
Glue the bottom tips to fill the bottom area.
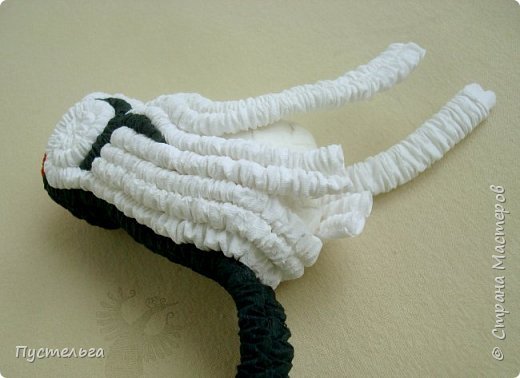
Now lets make the wings. Attach tubes to the oval shaped paper.
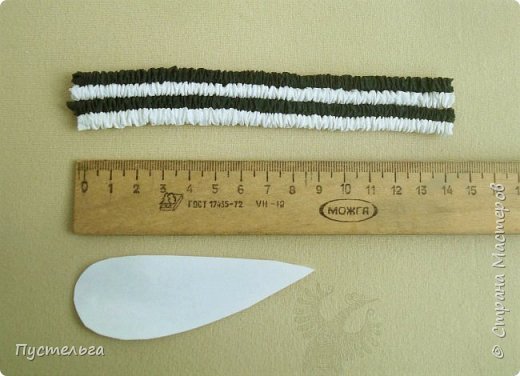
Join them as shown in the figure.
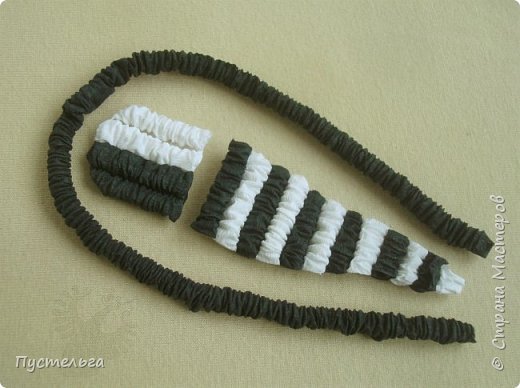
Glue it to create wings!
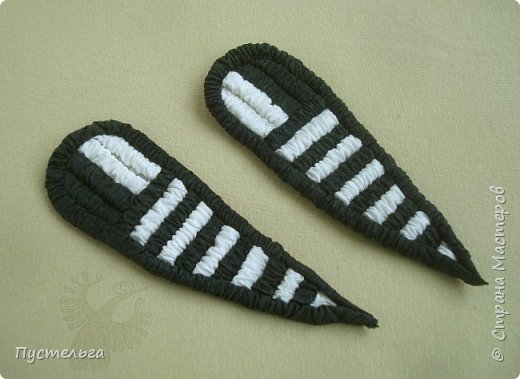
You can now glue wings to give the bird a good look.
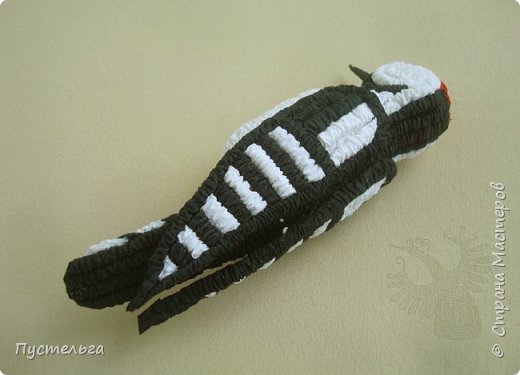
Use more paper tubes to to decorate tail.
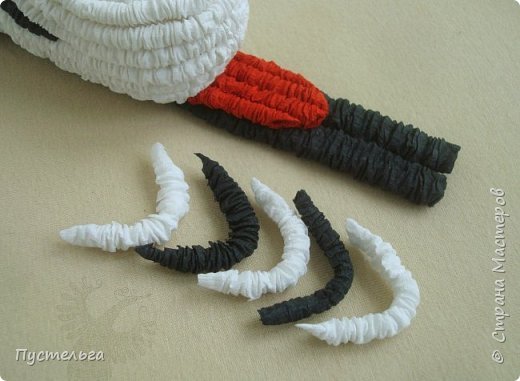
Glue it on the tail and see how it looks!
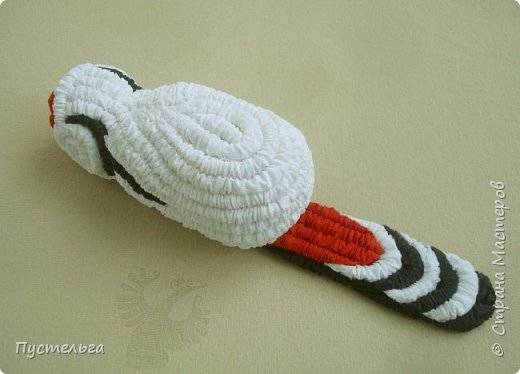
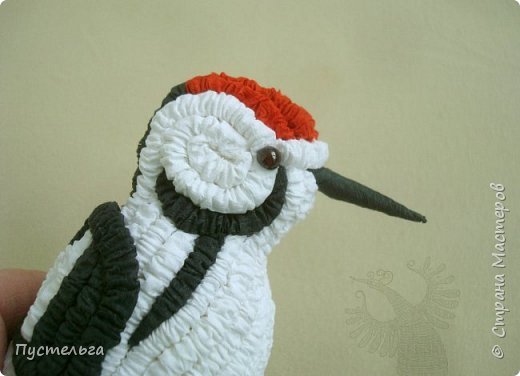
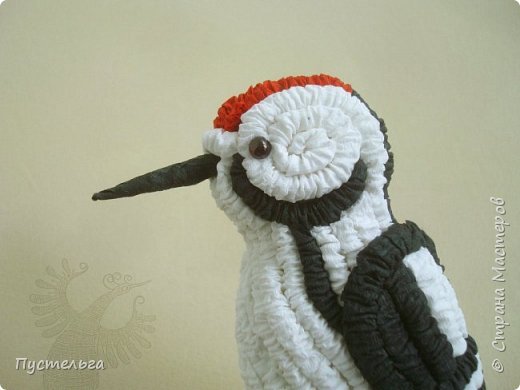
Create Paws using String and paper tubes.
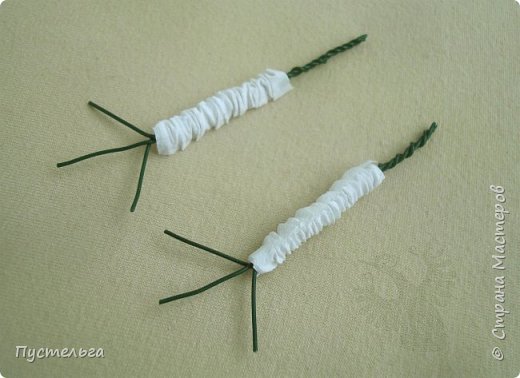
Attach it beautifully without losing the look.
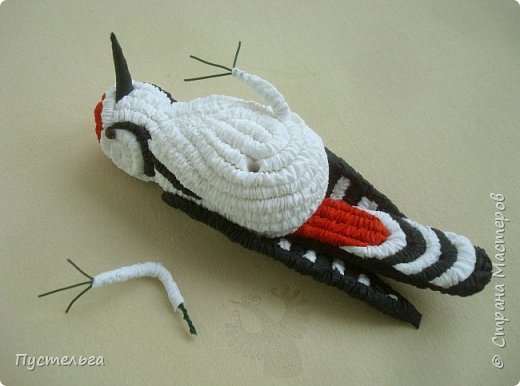
Woodpecker is ready!
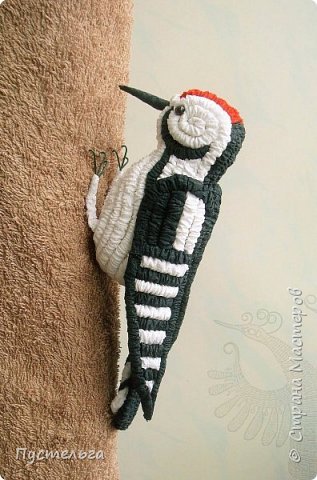
Oh oh! Another one also came there 😉
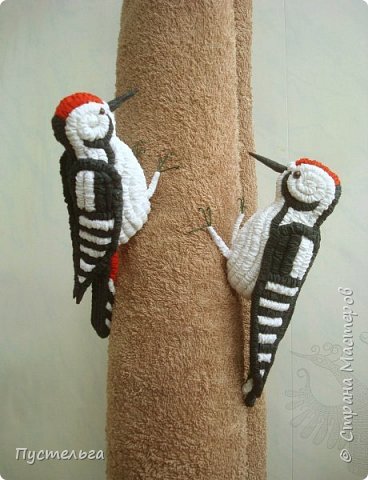
Credits: stranamasterov


